I recently stumbled upon a fantastic tool for authentication: Clerk. Here's why I think it's a game-changer:
1. Easy Installation and Setup
By simply following their outstanding documentation, you can install the necessary packages and set up Clerk in no time. If you're using AppRouter for Next.js, all you need to do is wrap your entire layout with ClerkProvider, and voila – instant authentication!
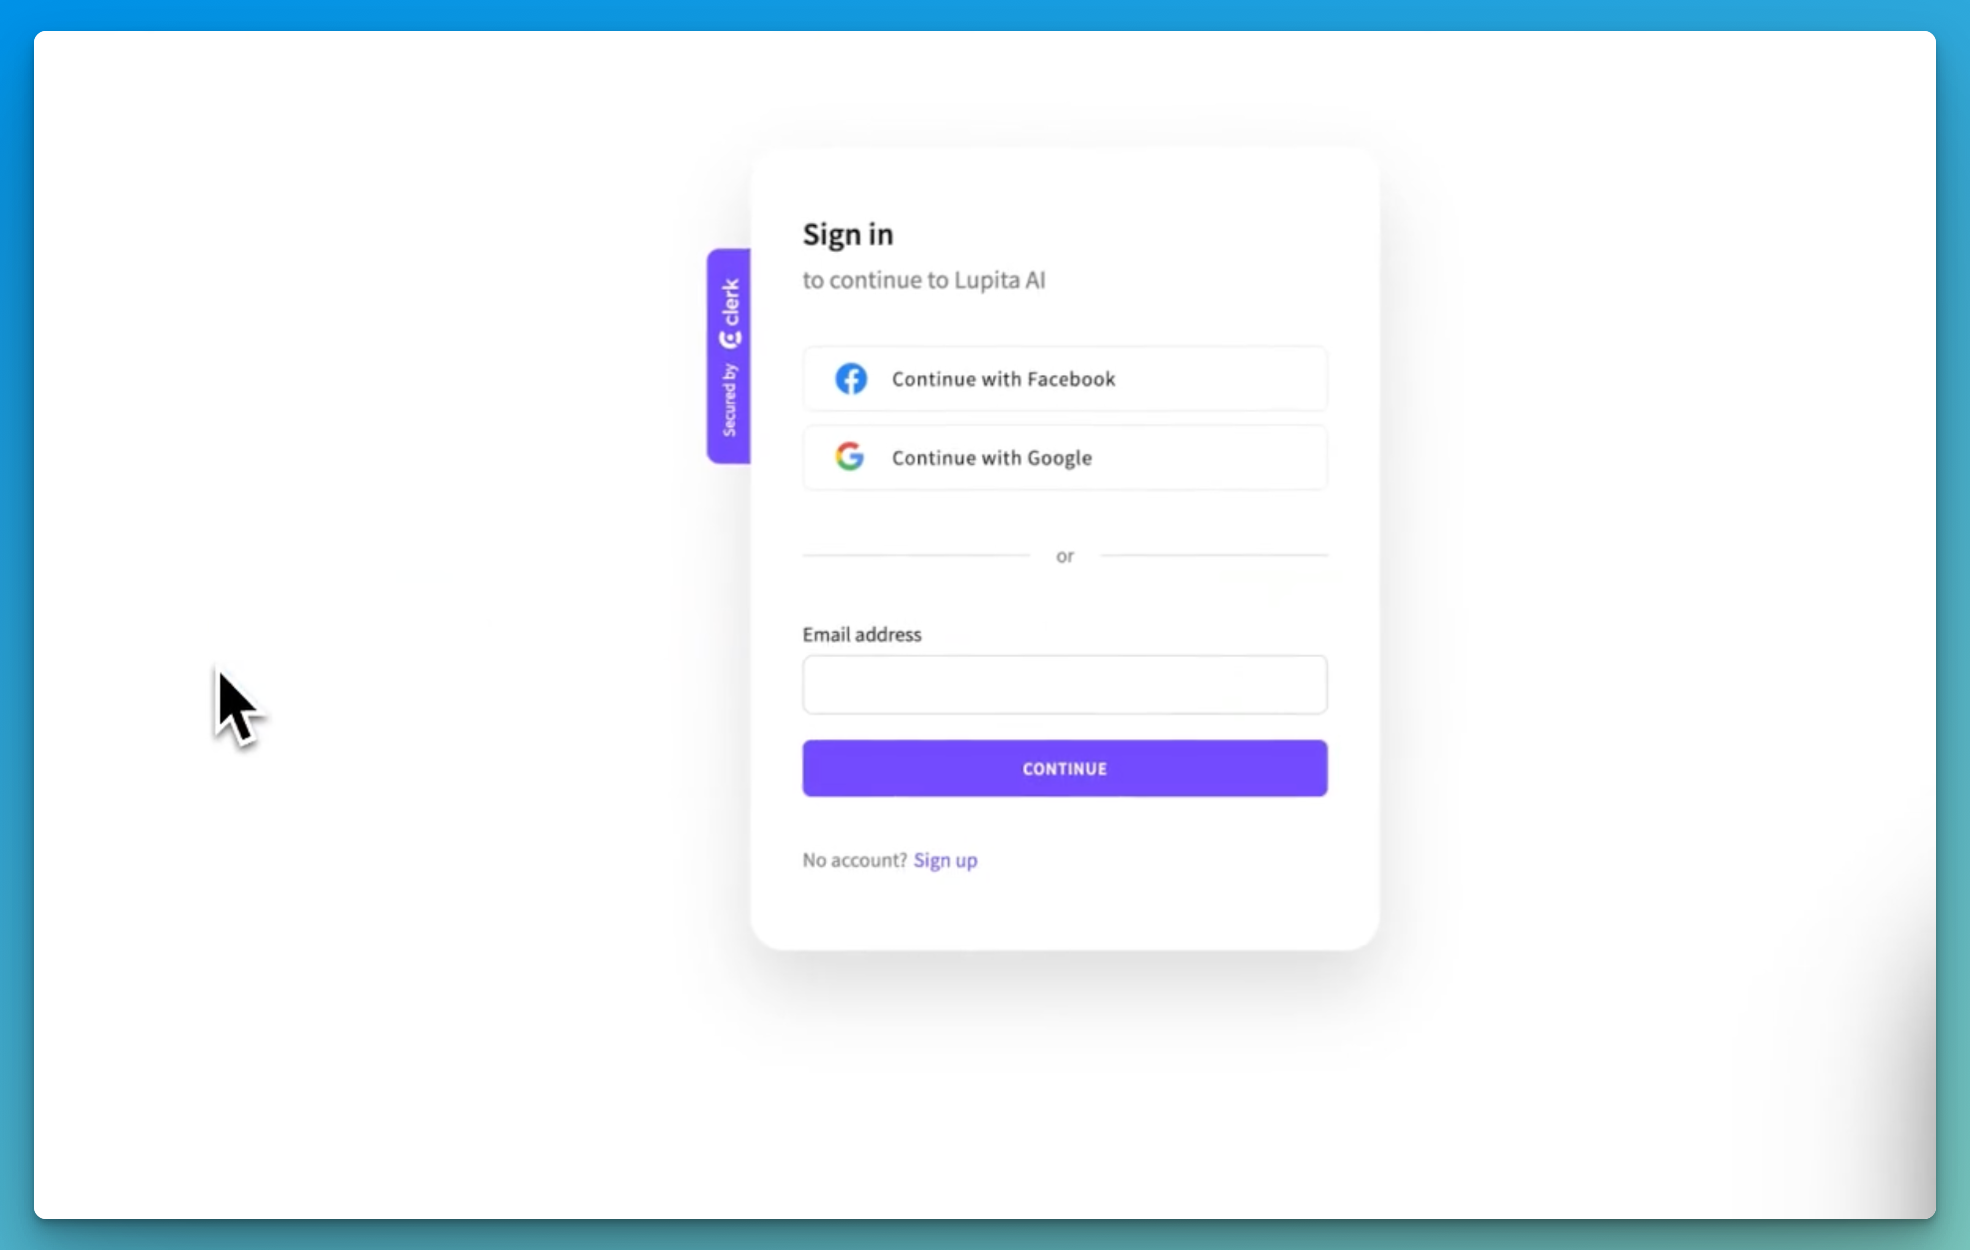
2. Out-of-the-box Login and Sign-up Screens
Gone are the days of building a login and sign-up screen from scratch. With Clerk, you get these, along with social media sign-up options, right out of the box. Just use their provided sign-up and sign-in components, set some environment variables, and you're good to go.
3. Robust Route Authentication
Through middleware, you can utilize the authMiddleware to specify which routes are public and which ones to ignore. This means that any route that isn't public or ignored will require authentication – a feature that ensures enhanced security.
4. Access to User Details with getAuth
By importing getAuth from Clerk's package, you can pass in the request object and instantly access the entire user's details. This functionality enables you to swiftly implement features like:
5. Exceptional Documentation
I can't emphasize enough how comprehensive and user-friendly Clerk's documentation is. From installation guides to detailed explanations of features and components – everything is meticulously laid out. Plus, the option to copy-paste components means you can achieve a lot with minimal effort.
6. User-Friendly Components
Clerk also offers components like the UserButton, a handy UI element that lets users manage their accounts or sign out. The best part? You don't even need to build the sign-out functionality – it's all taken care of!
In conclusion, Clerk has transformed the way I approach authentication in my projects. Its ease of use, combined with its powerful features, makes it an invaluable tool for both seasoned developers and beginners. I've already incorporated it into several of my side projects over the past month, and I'm eagerly looking forward to using it in future endeavors.