How I Built My First SaaS Application with Next.js, Stripe, and Firebase


This is a technical case study showcasing how I build Tends. A SaaS application that helps users manage "quantities" in their lives (i.e., daily calories, screen time, exercise time, etc.).
The case study will provide you with a big picture of how the project was created from start to finish. With an in-depth analysis of the technical decisions and the challenges, that I faced creating the application.
This project was built alongside a number of other projects in egghead.io's Portfolio Project Club. The goal of the club was to design, build and document a SaaS application that would serve as an excellent addition to our business oriented developer portfolios.
You can find the repository to my application here.
Background
As my high school experience abruptly ended in the wake of COVID-19, I quickly transitioned from being a busy high school senior to spending my days feeling unfulfilled as I was stuck inside. Eventually, restlessness motivated me to take advantage of the free time that I had been granted. Instead of burning through hours by staring at the ceiling, I decided to develop the habits that I had always desired.
The Problem
In pursuit of control over my habits, I found myself always keeping track of several quantities at once: calories consumed, pages read, hours fasted, etc.
Furthermore, I'd always be managing different quantities in different locations: one app for timing my fasts, another app for storing calories consumed, the 'Notes' app for tracking the number of pages I had read... While this was not a significant inconvenience, I couldn't help but imagine a central dashboard for managing all of my quantities.
Fast-forward: I'm halfway through the winter term at my university, where my courseload is relatively light, and many COVID restrictions are still in place. I get a notification from the egghead.io Discord server inviting members to join a Portfolio Club.
The goal for this club is to have each member develop individual SaaS applications using similar tech stacks. I was hooked! I had spent the summer learning React, Next.js, Tailwind, and Typescript, and it looked like I would finally have the opportunity to apply that knowledge.
The challenge
What would I develop? A central dashboard for those who, like me, are looking to keep track of their habits. This dashboard would display widgets called "tends" (short for tendencies) that the user could customize according to what habit the user was looking to keep track of.
Furthermore, my application would display trends for each tend so that the user knows whether they are headed in the right direction with their habit building.
Design
As members of this Portfolio Project Club, we each committed to following the Readme Driven Development methodology. The first step of writing a Readme file before doing any coding seemed too simple to be effective. Still, it ended up being incredibly useful as, otherwise, I would have been trying to store all the information about implementation and functionality in my head.
You can check out my Readme here.
The step that naturally followed for me was to hop into Figma and start designing the application's layout based on the functionality described in the Readme. The Readme acted as a space for me to spill up all of my ideas. Still, because I didn't expect to implement all of those features within the club's timespan, I only wanted to use Figma to design the application's foundation.

Getting Started With Implementation
With my application's functionality and visuals already created, it was finally time for me to set up my project and begin implementing my ideas. I started by using Create Next App to get started with Next.js, then configured TypeScript.
TypeScript Configuration
Notice that I'm using strict and strictNullChecks in my TypeScript configuration. I really wanted this project to be an opportunity for me to become better with TypeScript, so I decided to challenge myself with strict mode.
To style my components according to my Figma design, I also added and configured Tailwind. Unlike TypeScript, Tailwind is a technology that I'm confident with, so it took me no time to implement a foundation for my application that I was satisfied with.
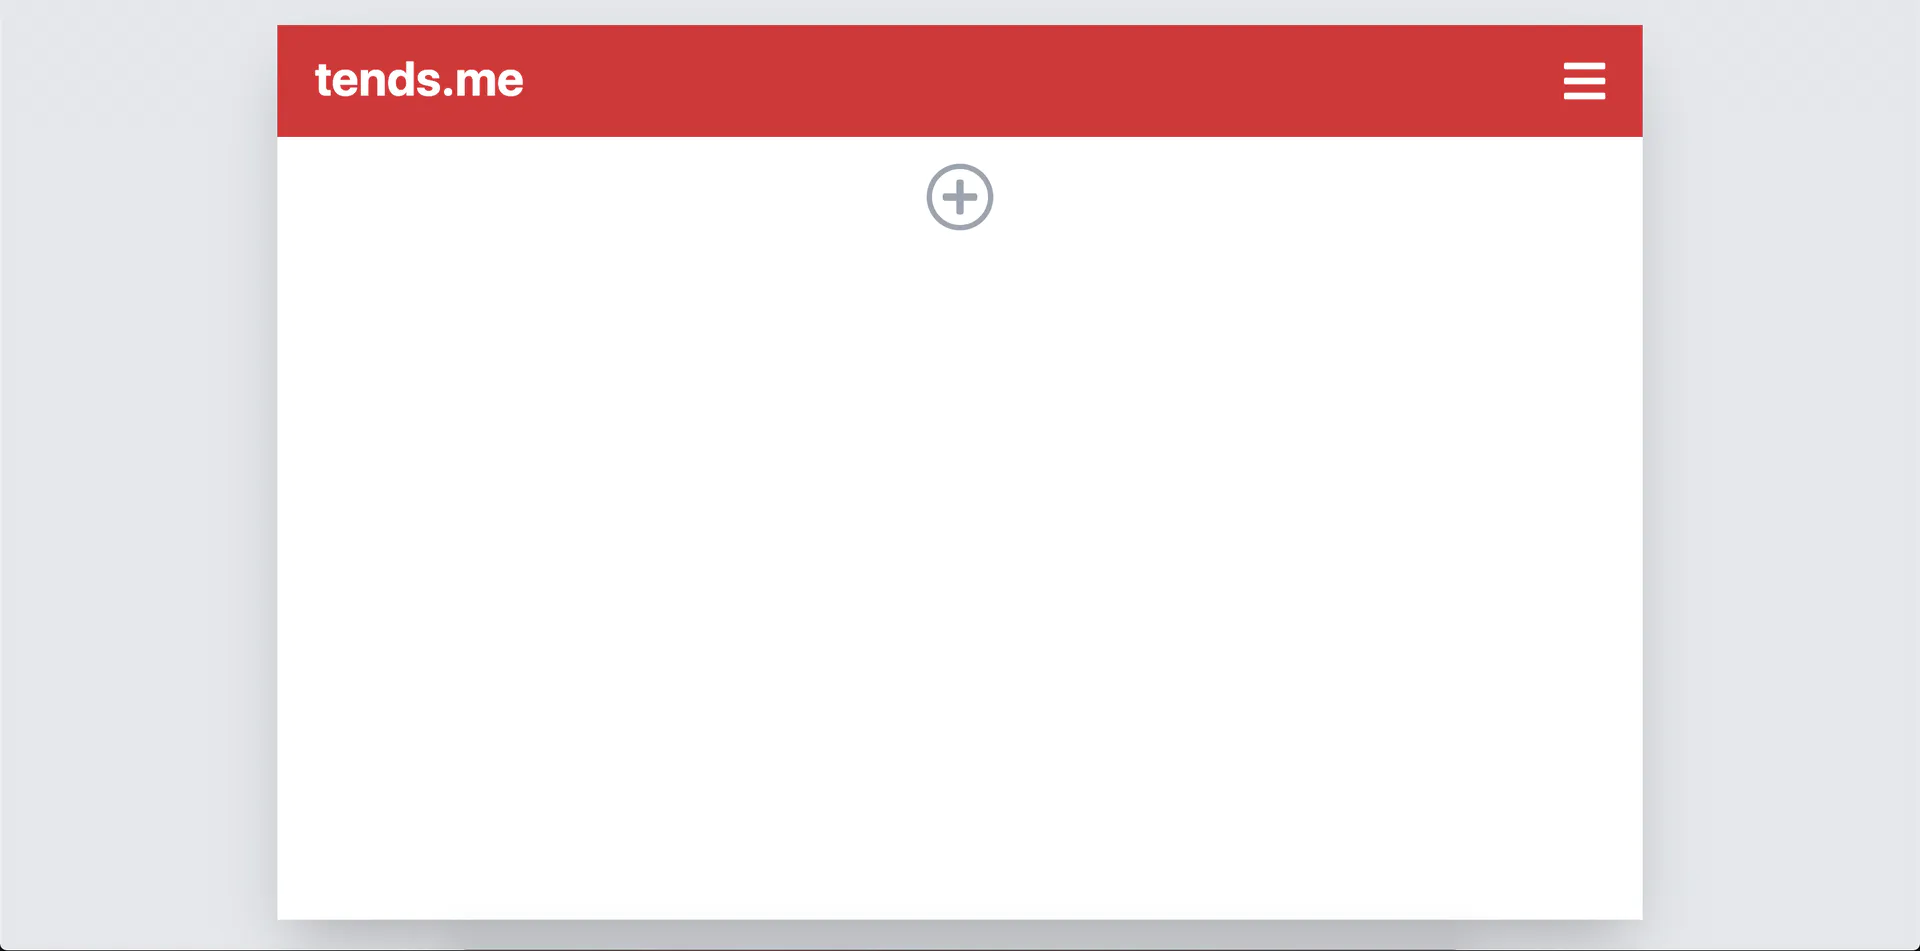
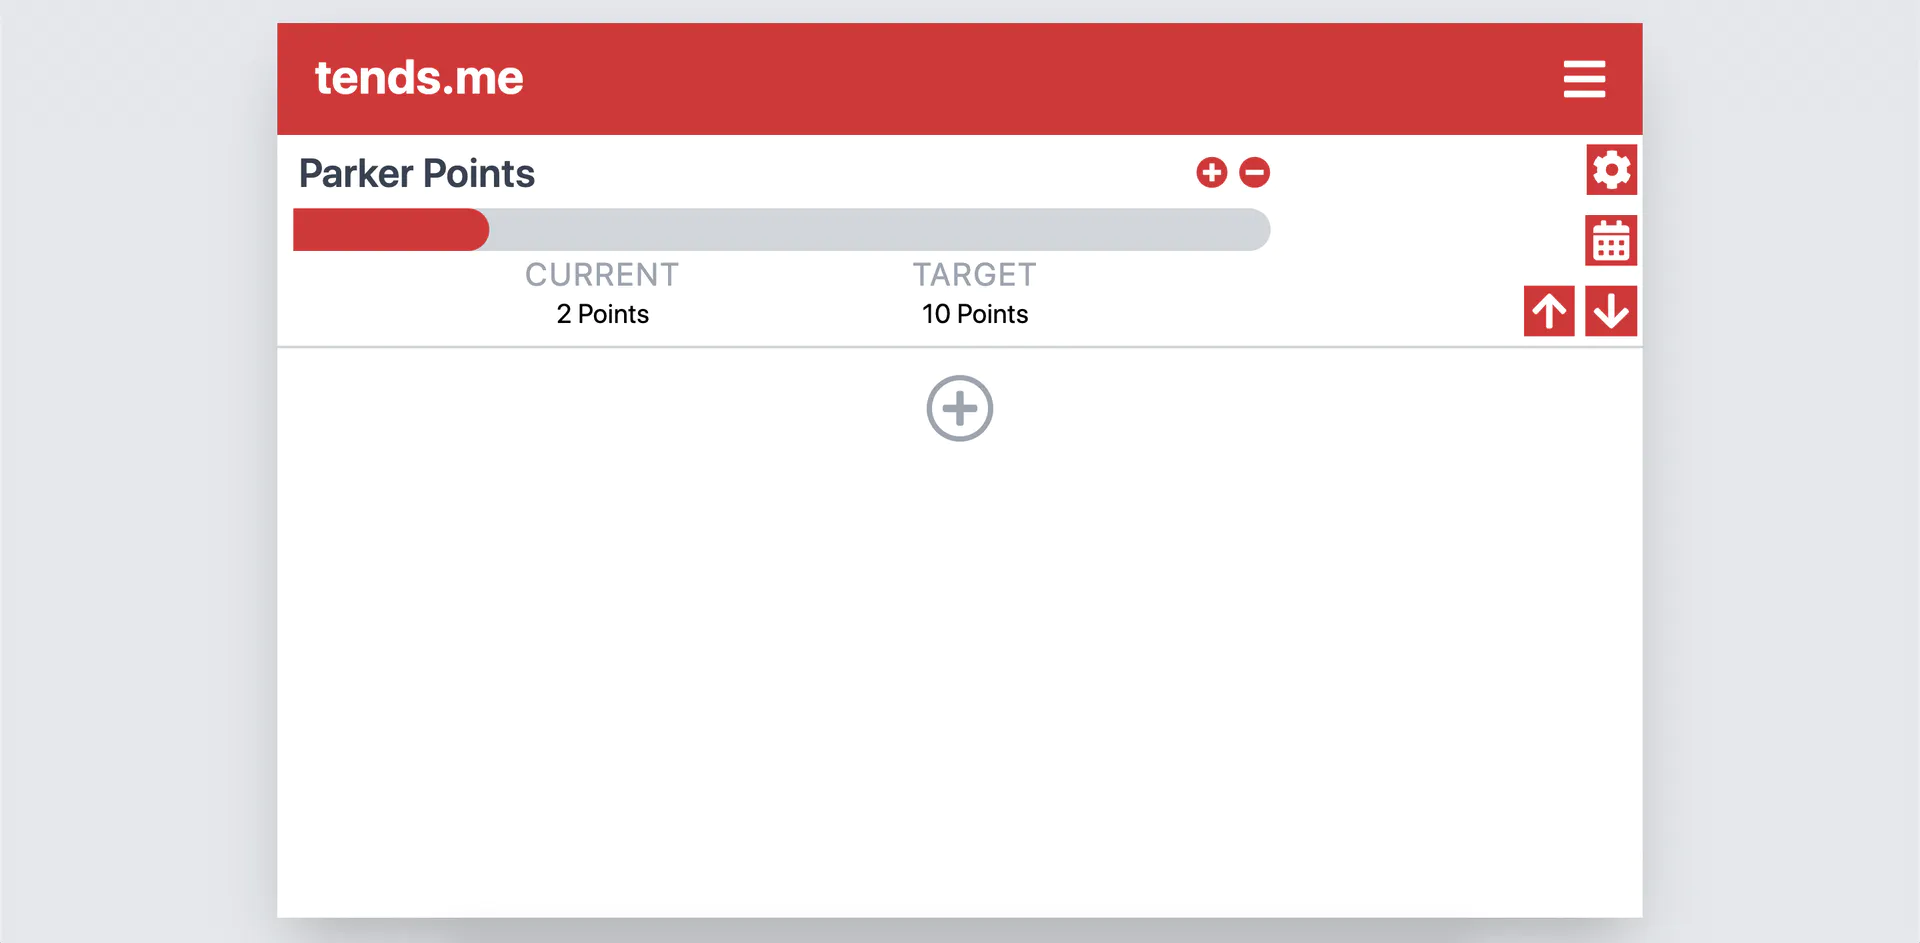
And with a tend:
Worries
While I felt confident in making the website look the way I wanted it to, I also felt a lingering sense of insecurity regarding my application structure.
Firstly, I've never created something on the scale of what I had in mind for this project. My web development career has so far consisted of a lot of learning and not as much doing (unfortunately).
Secondly, before this project, I've had little to no experience with implementing backend features. Thus, I couldn't help but worry about my application's components needing to be majorly refactored when it came time to bring in the backend (as it turns out, this was not the case).
Creating Tends with a Form
The next step in implementing was to create a form that took in the information necessary to create a tend. I knew each tend would have a different "type" depending on the habit that the user was tracking, and, for the first iteration of this application, I had only planned on two options for tend type: quantity and timer. The creation of a quantity tend would take in an initial quantity, a target quantity, and the units of the quantity (i.e., calories).
The creation of a timer tend would take in the target hours and minutes for the timer. Thus, the tend creation form inputs needed to be dependent on the type selected by the user.
I am aware of the existence of libraries that make managing forms easier in React, but I decided to implement this form without those libraries. Perhaps, as I expand the types of tends available to the user, I will refactor the form code to use one of those libraries.
Create Tend Form Component Structure
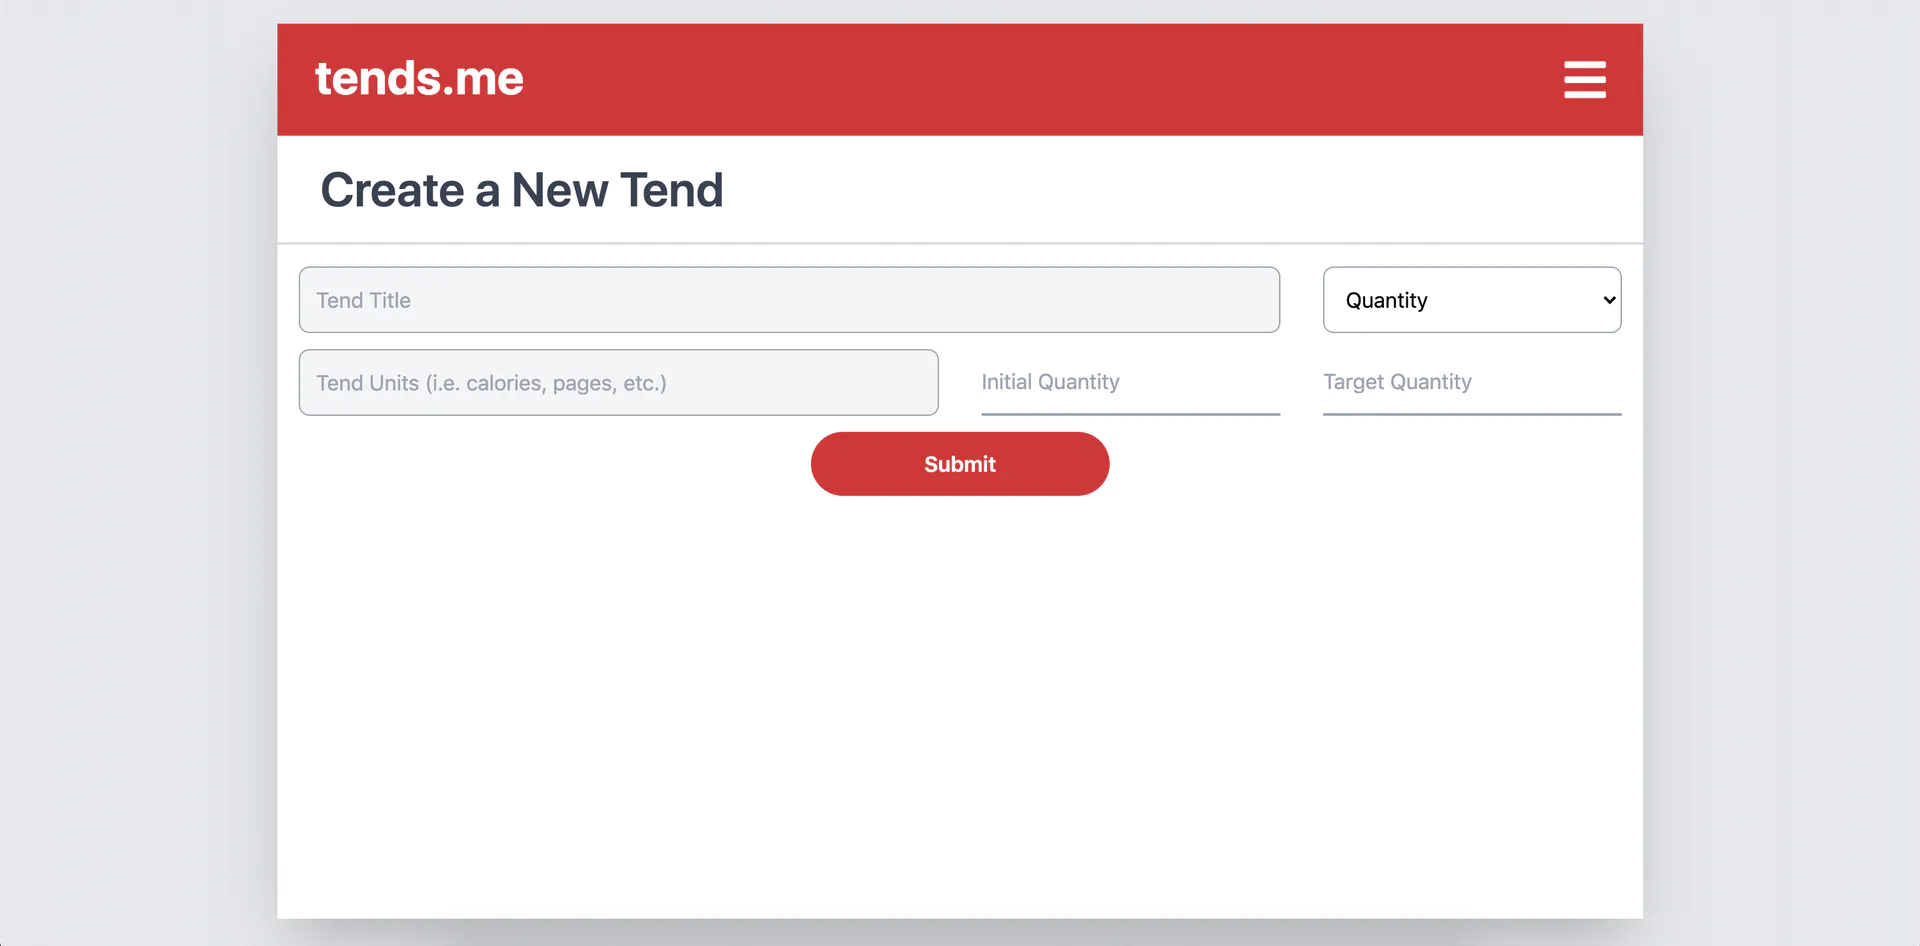
Blank tend creation form:
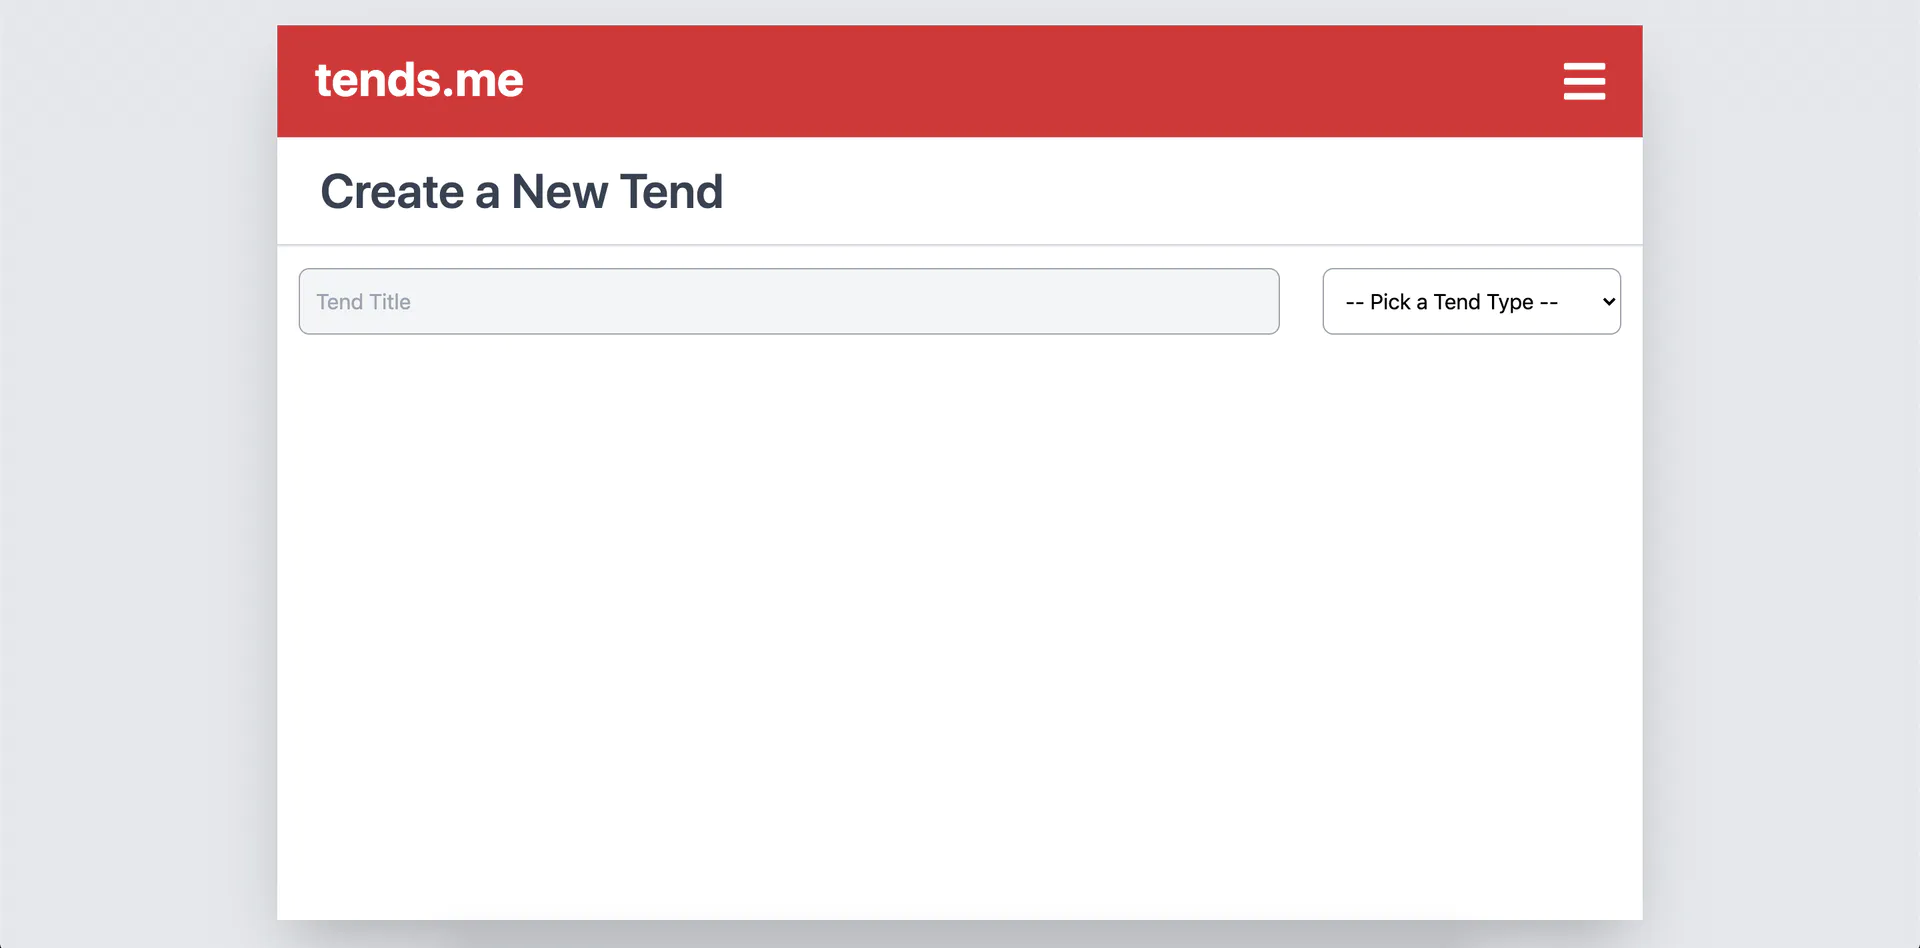
Tend creation form with "quantity" type selected:
Backend
Now that I had created mediums for tend creation and display, I needed to store and fetch data. As previously mentioned, I have minimal experience with backend development. However, React2025 made this process as painless as possible for me.
The React2025 tutorial walks through building an application that stores feedback for a user's sites. My application aims to store data for a user's tends. My application is very similar to the application created in the React2025 tutorial at a high level of abstraction. Thus, I was able to implement the features from the React2025 tutorials with minor tweaks.
Firebase
The first step to building out the backend was to set up Firebase.
Firebase Initialization
Authentication
Setting up authentication with Firebase was easier than I could have ever imagined it would be. First, I enabled GitHub and Google as sign-in methods for my Firebase project. After some more configuration, the React Context Hook below can provide every component in the application with user data and methods to sign in and sign out.
Now we can have the user sign in if they have not already done so.
Here's a functional skeleton of the SignIn component:
And here's an example of user data in Firebase:

Creating, Reading, Updating, and Deleting from Firestore
In the above code, we import { createUser } from "./db".
db.js holds all the functions that the application uses to create, update, and delete data from Firestore.
A Snippet from db.js
From db.js, I could import these functions into a component and then call them within the component.
To read data from Firestore, I needed to host that data on API routes that my components could then fetch from.
Get User Tends API Route
Notice that the API route verifies the token in the request header. Without that check, anybody would have access to any user's data. API Route authentication is a topic covered in the React2025 course that, like most backend development, was utterly foreign to me before this project.
Trends
At this point in development, the user could successfully create a tend and have it display on their dashboard. Now I wanted to store data points associated with that tend. The app I use to track my intermittent fasting displays statistics and graphs for weight and time spent fasting: this is exactly what I envisioned for my application, except not exclusive to tracking fasting nor weight.
Firstly, I needed to determine when a data point should be stored. For the quantity tend, I have it set up, for now, to store a data point when the "reset" button is manually clicked. However, eventually, I would like to allow the user to decide how often they would like their quantity tend to be automatically reset and stored (think: weekly pages read, daily calories). For the timer tend, a data point is stored whenever the timer is stopped.
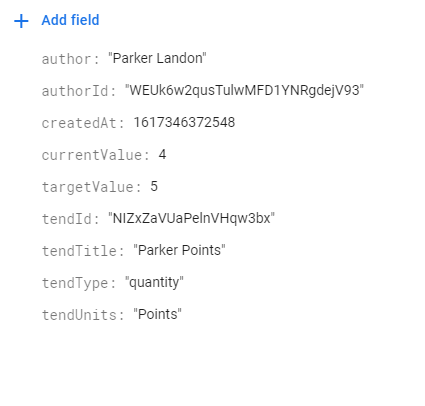
Example Quantity Trend Data Stored in Firebase
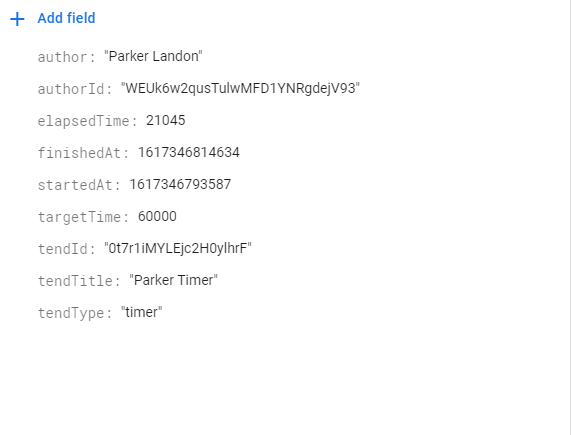
Example Timer Trend Data Stored in Firebase
Data Visualization
The goal with the trends feature is to meaningfully display the user's habits over time. To accomplish this, I use Next.js dynamic routes to create a path for each tend, then use Recharts to visualize the trend data associated with that tend.
Skeleton of Recharts Line Graph for Trend Data
The LineChart component takes in an array of trends sorted by date created and creates a meaningful visualization that the user can observe to determine whether he or she is building or breaking a habit.

Stripe Integration
As was true with implementing authentication and database, adding Stripe to this project was much less painful than I had anticipated. Again, I followed along with the React2025 course: first, the Stripe extension for Firebase was installed on the project, then Stripe was configured in the code so that the user could create Stripe Checkout Sessions and access their Billing Portal.
At this point in time, the functionality of Stripe in this application is limited. So far, the content created for the application is what I expected to be accessible by free-tier, unsubscribed users. There is plenty of room for more dashboard customizability, more tend types, more trend data visualization, and new features to be implemented, all of which would justify a premium plan being included in the project.
For now, though, the current state of the project does not justify the existence of a premium subscription tier of users.
Moving Forward
At the moment of writing, the application is usable. However, as previously mentioned, there are many opportunities for this project to grow.
There currently are some bugs to squash and some aspects of user experience that need improvement. Furthermore, admittedly, as deadlines approached, I felt myself grow lazier with TypeScript, and eventually, I just reverted to plain JavaScript to more easily follow along with the tutorials I was viewing. Nevertheless, I'm satisfied with the foundation that I have set for the future of this project to stand atop, and I truly believe that this idea has potential as a SaaS application.
Overall, I'm both surprised and delighted at how little trouble I ran into while taking on things that I had anticipated to be difficult. This project has given me the gratification to both continue developing it and to continue my journey as a self-taught developer.