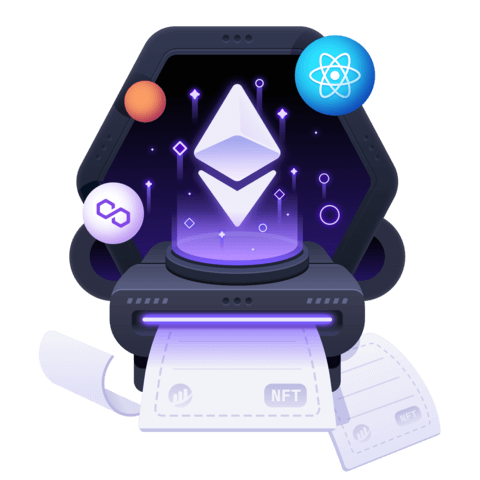
Set Up a React dApp From a Starter


Let’s create a dApp that connect to a smart contract on the Rinkeby test network!
I’ve created a starter repo ****for you. Just run git clone git@github.com:ryancharris/nftix-demo-ui.git. Then just run yarn and add the smart contract’s address to an ENV file.
Ryan C. Harris: [0:00] Now, we're going to build a dapp with React that connects to our smart contract on the Rinkeby test network. I've built out a starter repo here on the right.
[0:07] We're going to clone that to our local machine by typing git clone and pasting the address, git@github.com:ryancharris/nftix-demo-ui.git. Now, we'll navigate to that directory, cd nftix-demo-ui. We will install our Node modules by running yarn install.
[0:32] Let's open the repository in VS Code by typing code. At the root of the project, let's add a file for our environment variables, .env.development.local. We only need to add one environment variable for now, and that's REACT_APP_CONTRACT_ID. We'll set it to the address of our smart contract on the Rinkeby network.
[0:58] Now, we can go back to our terminal and run yarn start to spin up the development server. Then, if we open the browser, you can see our pre-built UI.
[1:07] In review, we've cloned this repository from GitHub, installed its Node modules, added an environment variable, and spun up a local development server.