Build Realtime and Authenticated Apps with Firebase + Vite


This blog post is based off of a Firebase talk from ViteConf 2022. If you prefer the video (with a catchy beat!) you can watch it on David's Twitter.
Vite is amazing. It allows you to build without needing to be a build tools engineer.
Whether it's TypeScript, CSS modules, or framework builds… they all work with no config or just a small amount. Enabling Vue support is only a handful of lines.
Vite focuses you on what matters, building the website. I work on Firebase and I'm also the self-proclaimed number one Vite super-fan.
Why do I love Vite so much? Well, Vite reminds me a lot of what I like about Firebase. With Firebase, you start off by creating a project. With that project you can create databases, storage buckets, serverless functions, deploy websites, and set up authentication all in a few clicks. From day one our goal has been to simplify back in development so you can focus on your site. That mission fits perfectly with Vite.
In this article, I'm going to show you the fundamentals of building realtime and authenticated websites on Firebase and Vite.
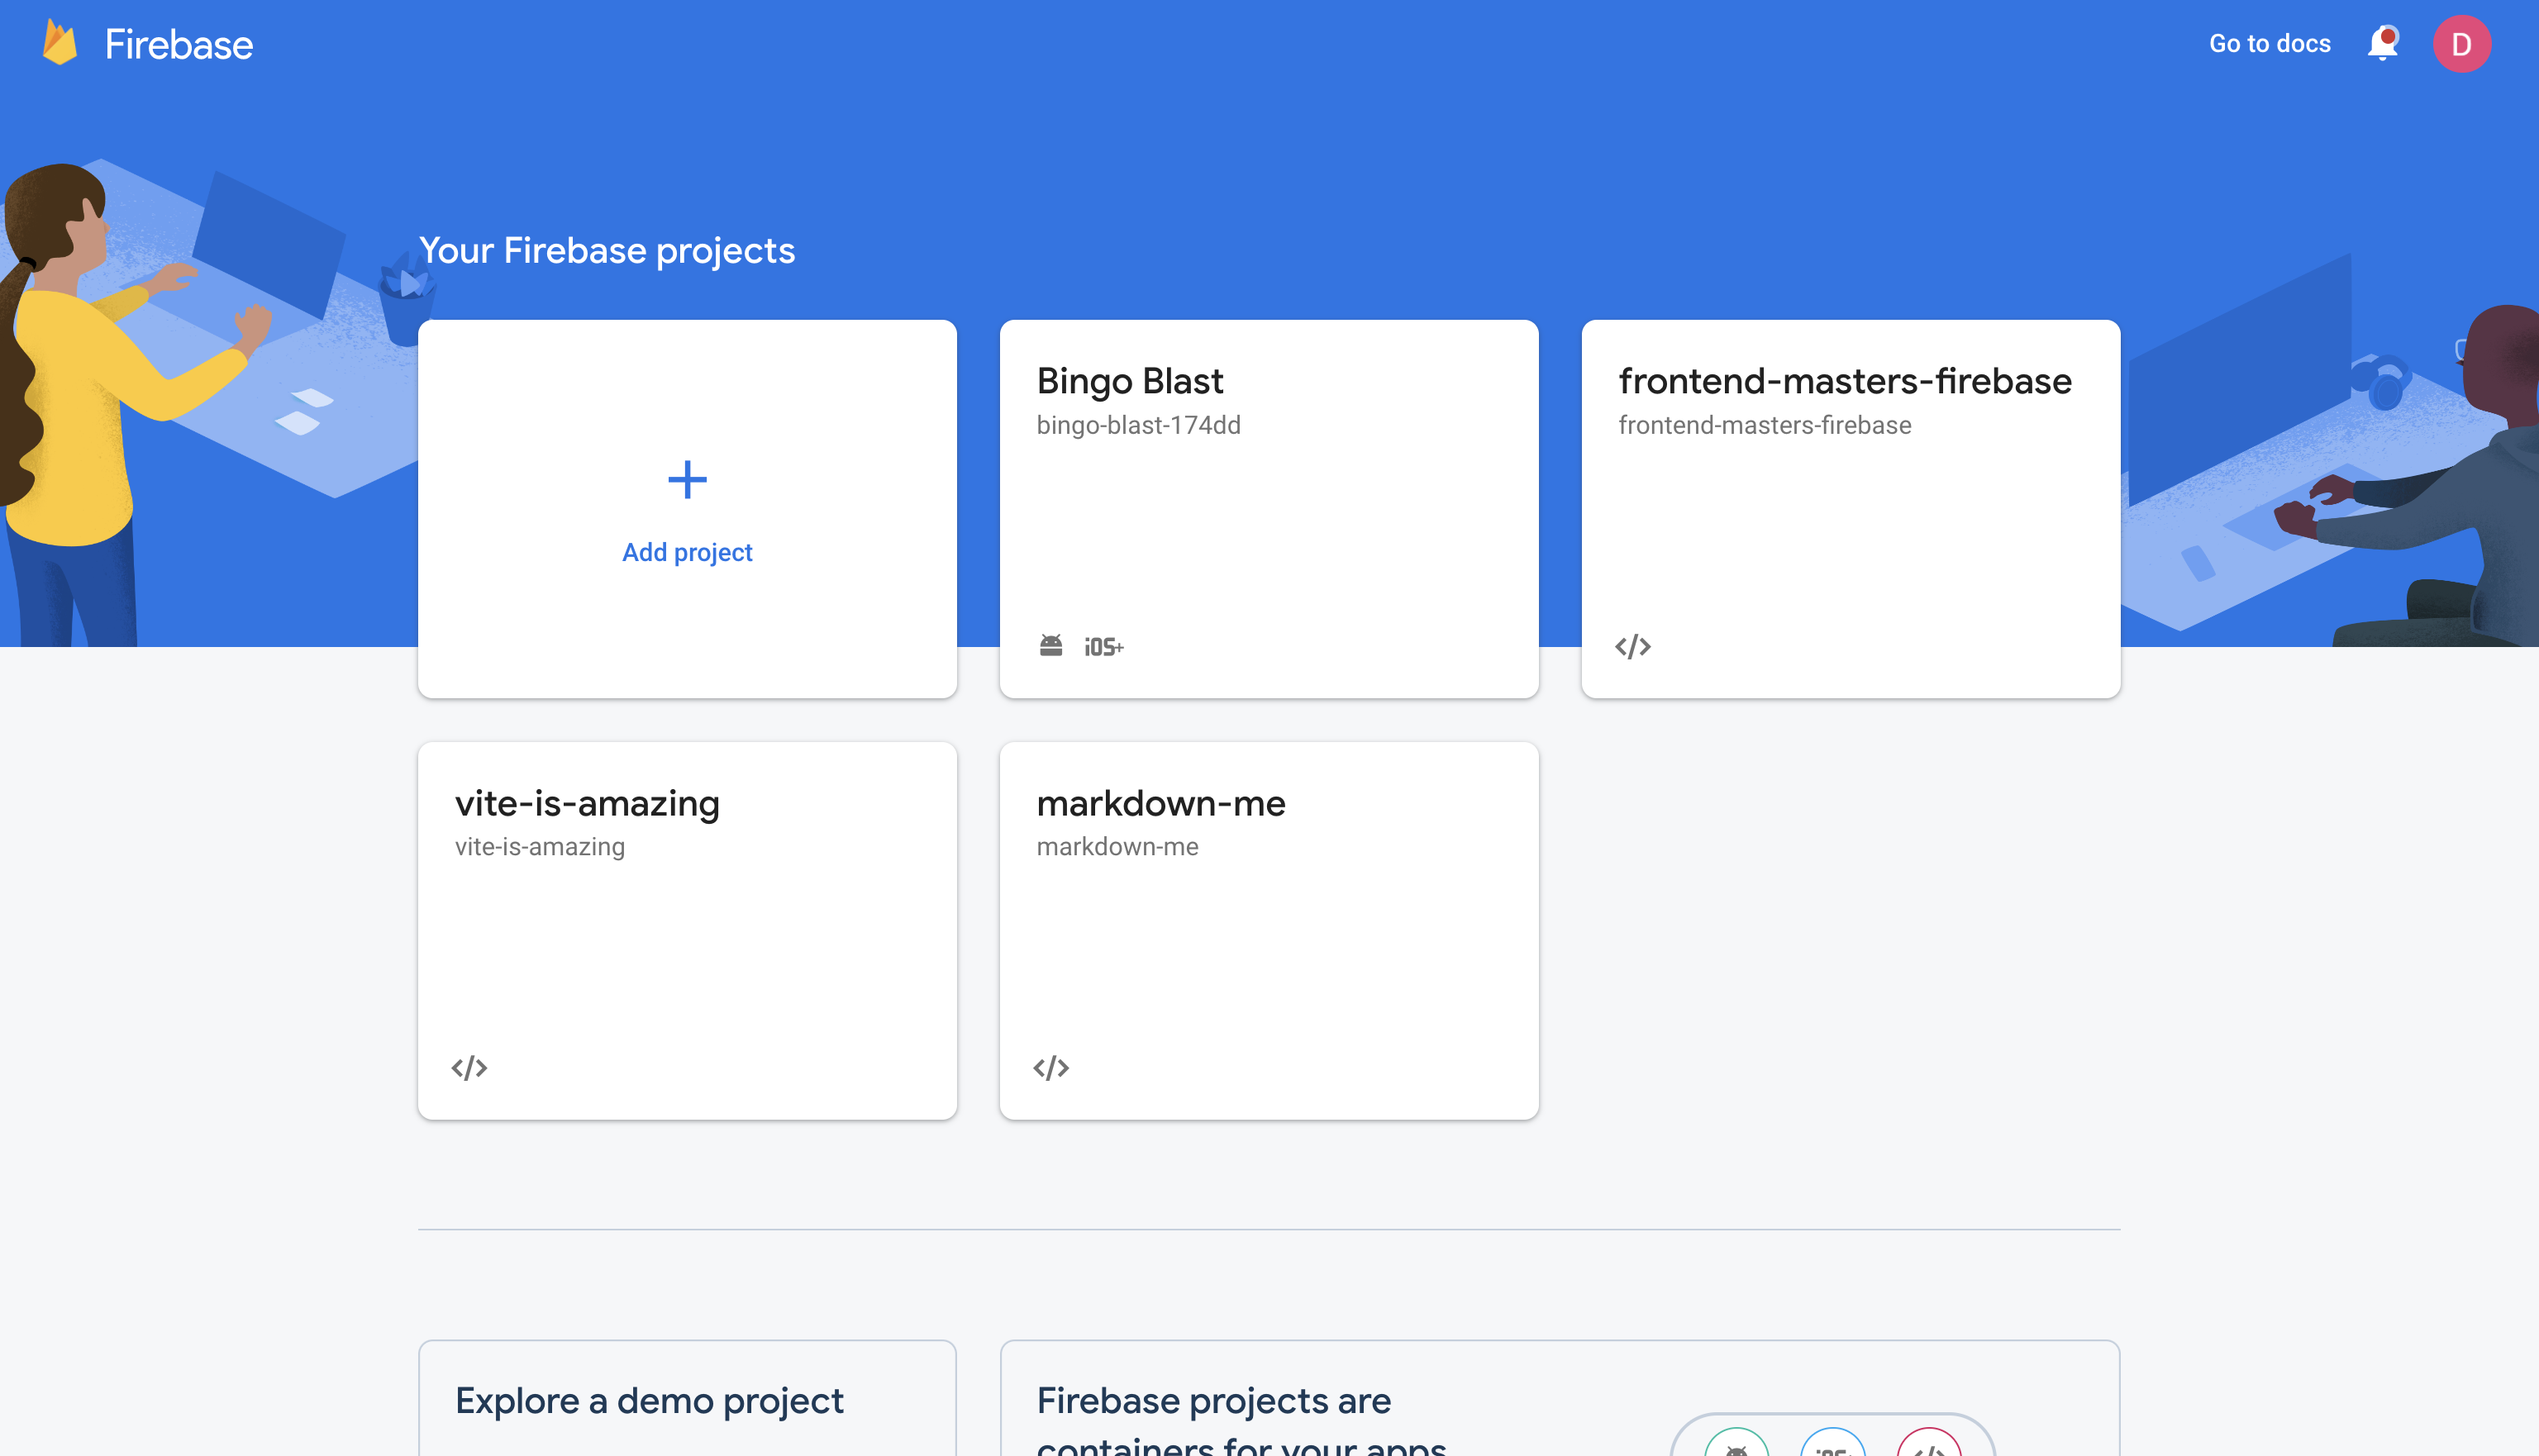
Creating a Firebase Project
The very first thing you need to do is create a Firebase Project. This project will house all of your databases, storage buckets, authenticated users, serverless functions, and so much more.
Once that's done you'll need to create an App. This app stores the configuration that the Firebase JavaScript library needs to talk to your specific Firebase backend.
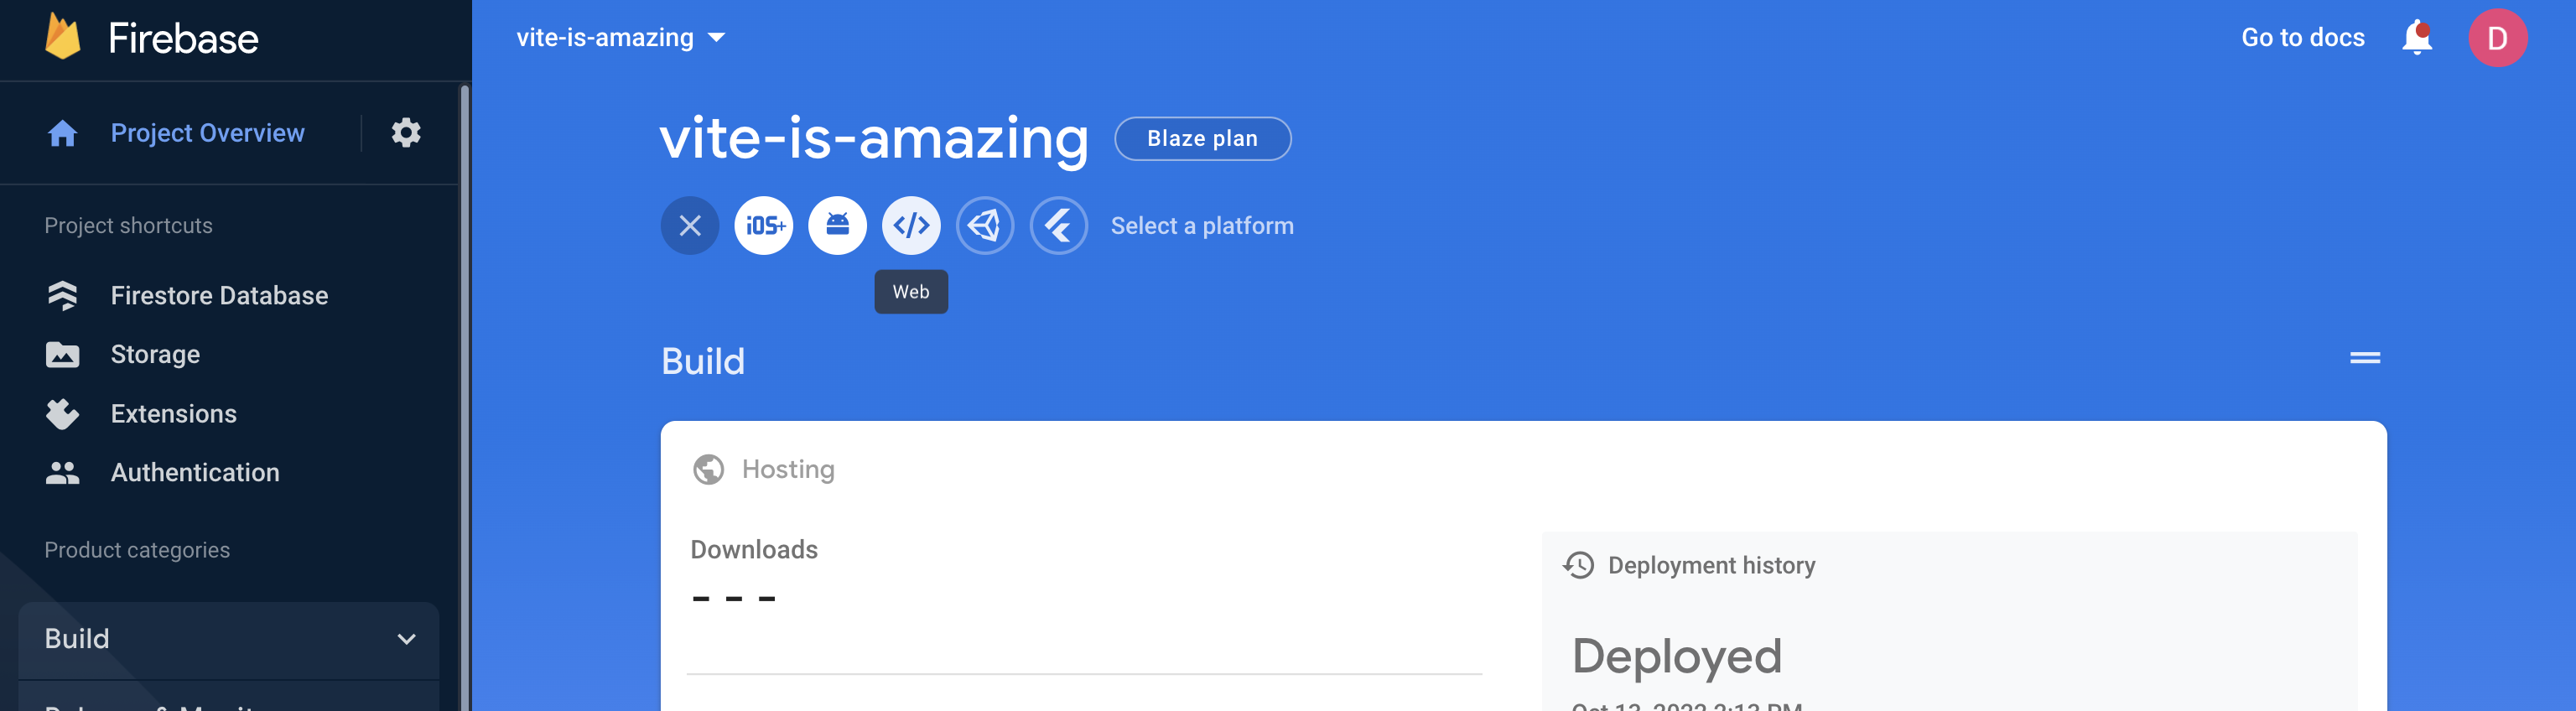
Don't worry too much about the differences between an App and Project. However if you're curious about it, we have a video that describes how Firebase Projects and Apps work.
Now let's get started with some code.
The Firebase CLI
In the Firebase world development starts with our CLI.
After installing via npm, I'm gonna unlock an experimental feature. I like to call it "Vite Mode".
Okay seriously though, this is a new feature we recently announced that auto-detects, runs, and builds popular JavaScript frameworks and tooling like Next.js, Angular, and you guessed it… Vite.
From here, you'll run our init command for a specific service like hosting.
The CLI will prompt you to pick from a list of frameworks and tools. Select Vite and once it's installed, let's get it up and running with the Firebase JavaScript library.
The Firebase JavaScript library
The Firebase JavaScript library is installed through npm.
To set up this library, you have to import an initialized app function, and usually you have to give it a configuration object.
However, we have a brand new feature in this experiment called auto init. This automatically initializes the Firebase app with the configuration behind the scenes. So you only need to import the Firebase services you need.
Now before we do anything else, we need to take the time to follow a best practice in the Firebase world. Setting up the Emulator Suite.
Following best practices with the Emulator Suite
Firebase is cloud-based, but your Firebase development doesn't have to be. The Firebase CLI comes with a set of emulators that allow you to locally run Firebase services. You can run Firestore, Authentication, the Realtime Database, Cloud Functions, and Storage.
This is considered a best practice when developing. With the emulators you can develop in isolation, without an internet connection, and easily reset to a seed of data. The Emulator Suite even comes with a UI that is tailored for development tasks.
To set up the Emulator Suite, run the following command:
Then select emulators for Firestore, Authentication, and Hosting. You'll then see questions about port numbers and such, but I recommend going with the defaults. Once it's done you can boot up the emulators with the following command:
If you'd like to import from a seed or export any data you create while the emulators are running you can add two flags.
Now we're set up for best practices. Let's do something cool like detect login state.
Authentication
Firebase Authentication allows you to manage users without running a server. Detecting login state is just a single function:
The onAuthStateChanged() function takes a call back that fires in real time when a user either logs in or out. If we were to run this function right now, the result would be null because there's no user.
Let's change that.
Firebase Authentication comes with so many providers to pick from. My favorite is anonymous authentication. It works a bit like "sign in as a guest". It's fantastic for temporary transactions or for merging to a permanent account later on.
Notice how the sign in function triggers the listener. This is a core concept in Firebase. We usually don't await the result of an async operation.
We use a listener to keep data flowing in real time. If we used await here, we would only get the initial login event and not any subsequent events such as a logout.
Now, this user gives us a uid property, which is crucial for saving and securing data in a database like FireStore.
Ready to pick up the pace?
Enter your email and receive regular updates on our latest articles and courses


We're here to help.
Sign up for our FREE email course
- ⭐️ Portfolio Building: Learn how to build a badass developer portfolio so you can land that next job
NoSQL and Firestore
Firestore is a no sequel database which follows a structure of: collection/document/collection/document. You can utilize this hierarchy to create data structures that are read by a key to write data.
To store a user's chat messages, you can utilize the uid key in the path like so:
Now without needing a query you can get the user's messages by just a single path. Instead of storing all messages at the root of the database, you can store them under a user's collection because documents can have subcollections.
Each time you add a new set of user related data it can become a subcollection underneath a user document.
Now you might be asking yourself, which strategy is better?
That answer depends on how you will access your data. However, in general this tends not to be a huge problem because you can query across subcollections in Firestore with Collection Group queries.
In this case we're going to go with the top level collection approach. Once we know the user is logged in, we'll call a function syncData() with the user information.
This function creates a reference to the messages stored on behalf of that user. And now for the fun part… reading the data in realtime.
The onSnapshot() function takes in a callback that is triggered anytime an update occurs. Inside the listener you can assign the results of the snapshot data to your UI, and now it's in sync.
And just like that, we have a real time functioning chat app. Now I want to deploy this, but you know what? There's one more thing to address.
Security
You secure Firestore using our own custom language called Security Rules. Why a custom language? Well, these operations have to run FAST. The database can't update until the operation is run. Security Rules language is designed to run as fast as possible.
Matching paths in Firestore
Security Rules work off of matching the paths of data that you store in Firestore.
Think of this like a router that matches routes with wildcard segments.
Allowing read/write operations
Once you've matched a path you specify an expression that determines whether a read or write is allowed.
This rule allows anyone to read a message. However, only the user who owns the data can write.
Security Rules come with an entire set of variables you can access such as the incoming request. The request tells you who the current authenticated user is and we can use that to match against the {uid} wildcard created in the match statement.
This is just a simple example but it is incredibly powerful because it can be used in so many ways.
Updating Security Rules
All of this information is great, but where do you actually write Security Rules? Well there are two ways to do this. You can write them directly in the Firebase Console.
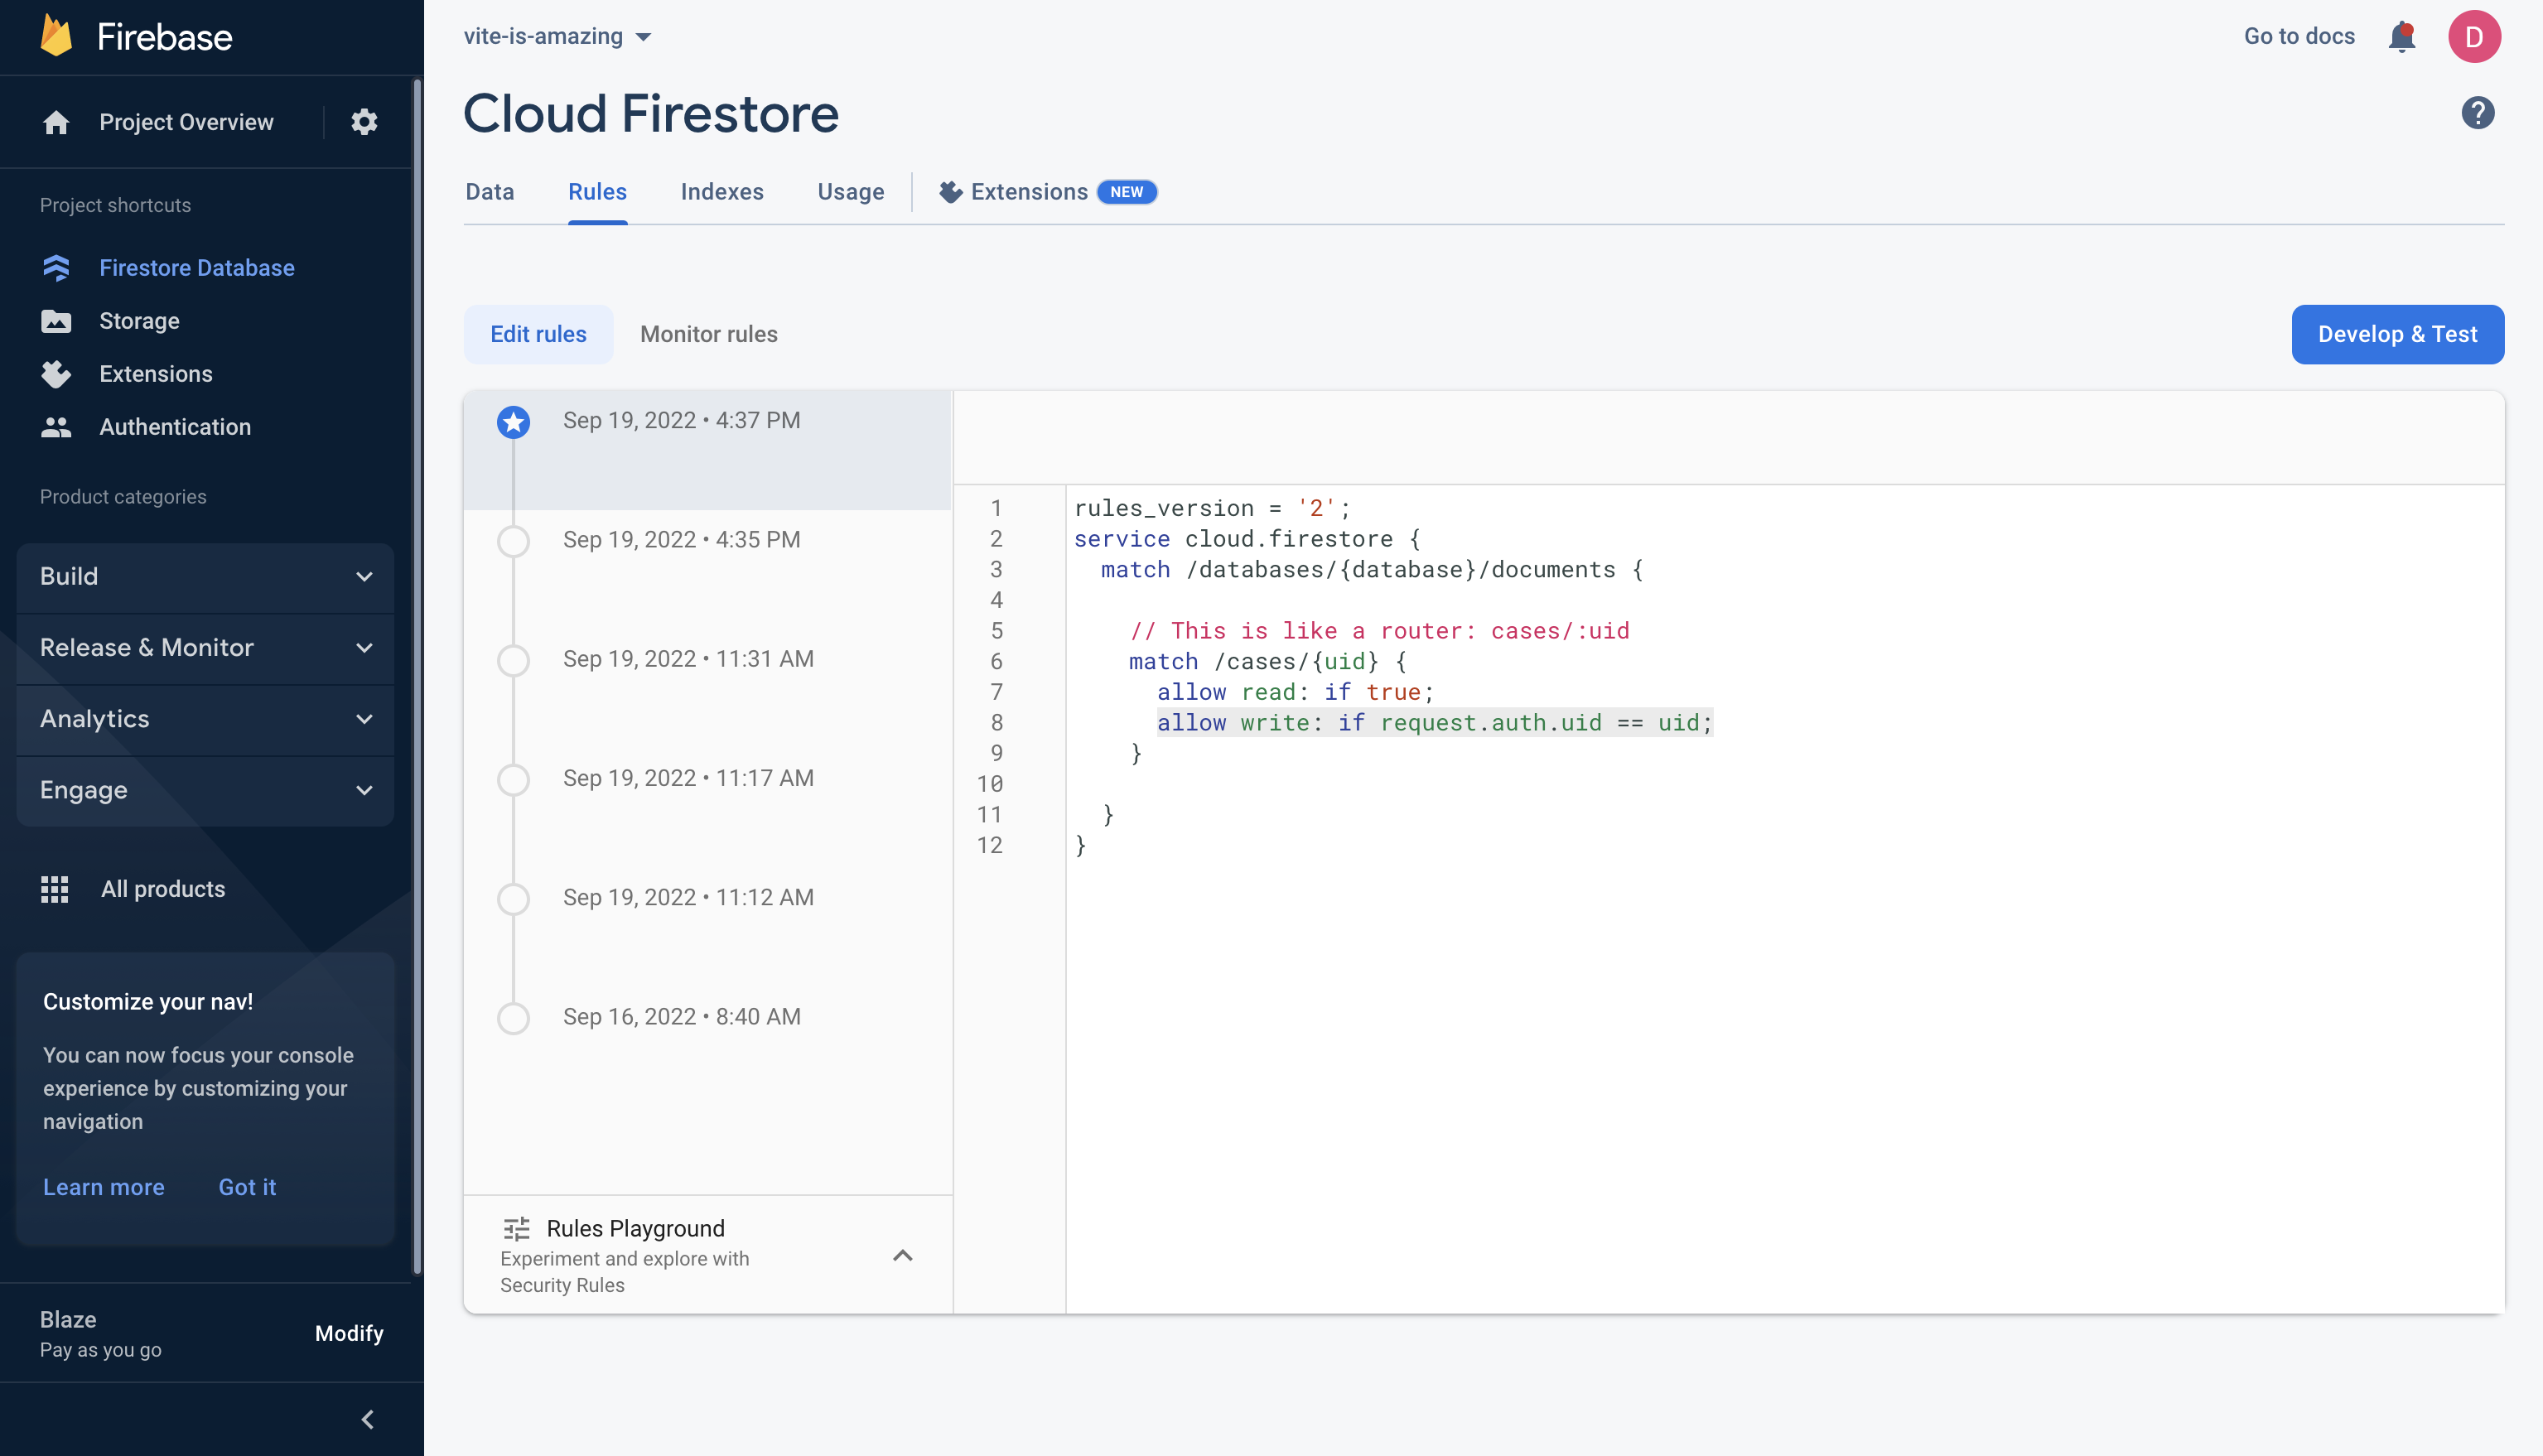
The console provides a code editor with some code complete and shows you the history of your changes. However, this will only work for the production database and not for the emulator.
We believe that the best practice is to write them directly in your source code. This is also important especially if you are working on a team with code reviews. When you set up the Emulator for Firestore, it created a file named firestore.rules. You can write the rules above in that file and the emulator will pick them up automatically. You can also use the CLI to deploy your security rules, so you don't have to go and copy and paste them into the console (that would be gross!).
All right, this is secure. Let's ship this!
Deploying to Firebase Hosting
Let's checkout another new feature from the experiment! Typing firebase deploy detects Vite, runs the build, and ships it to Firebase Hosting.
You also get this cool web.app subdomain! Firebase Hosting is simple to set up, but it also has a lot of configuration that you can tap into. You can set up rewrites, redirects, custom headers, and much more. If you want to dive deeper into Firebase Hosting we have a video that covers it all.
Wrapping things up!
As you probably saw, Firebase can do a lot of things: serverless authentication, databases that update in realtime, and so much more. What you may not have seen, was Vite. Like I said earlier, Vite is amazing because it focuses you. Not once during this article did we have to go in and tweak configuration or install a bunch of plugins. Not that plugins and configuration are a bad thing, but it's amazing how far you can go no configuration using Vite.
Ready to pick up the pace?
Enter your email and receive regular updates on our latest articles and courses
We're here to help.
Sign up for our FREE email course
- ⭐️ Portfolio Building: Learn how to build a badass developer portfolio so you can land that next job