Build a Content Management System for an E-commerce Store with Next.js and Sanity


Having the ability to build an online store opens up a ton of possibilities, whether you’re building that store for a new client to pay the bills or you’re trying to start your own business.
There are a growing number of solutions out there that help make this possible. You could use Stripe Checkout which can handle purchasing and payment processing or Snipcart which can add an entire shopping cart to your app.
But the more your product selection grows or the more people you add to your team, managing that online store becomes even more challenging.
The challenges of an online store
When managing a product selection on your store, there are a ton of factors you need to consider.
The products themselves have a variety of data points that need to be maintained from simply the title of the product to the SKU (Stock Keeping Unit). You also need to consider the inventory available that gives you the opportunity to sell that product in the first place.
If you’re managing your products hardcoded in your app or with a static JSON file, you have to start considering who’s actively making a change. Who knows how to change the code? Who even has access? Otherwise you can run into code collisions or risk having to give access to your entire codebase to someone you don’t trust.
That’s where a CMS comes in, which gives you the ability to fully manage your product selection whether it’s you or an entire team just like the big stores do, avoiding costly code errors which could bring down your site. But what exactly is a CMS?
What is a CMS?
A CMS, or Content Management System, is software or an application that provides a user interface to manage content and structured data that ultimately gets stored in a database.
One common use case is for a blog, where each blog entry would be a new item inside of a database, but the author can create new blog posts inside of the CMS with a friendly interface, rather than manually storing that content in the database.
While WordPress was once (and still is) the king of the CMS world, a variety of powerful CMS solutions have exploded in the development world providing more options and capabilities than we had before, including Sanity.
What is Sanity?
Sanity defines itself as more than just a CMS, but a content platform.
The core of the Sanity offering is a CMS, but they provide an enhanced developer experience and content collaboration features that give new powers to the traditional CMS.
For our project, we’ll use Sanity to store our product data, making it easily manageable whether it’s a single entrepreneur or a team of inventory managers.
What will we build?
We’re going to create a new Next.js app that sources a list of products from Sanity.io.
We’ll take advantage of the Sanity Client library to pull in our products from our CMS any time our project is built.
That will allow us to take that list of products and dynamically display them in a grid on our page for our visitors to browse.
Step 0: Set up a Next.js application
To get started, we’re going to create our new project with Next.js.
In your terminal, we can create our new project by running:
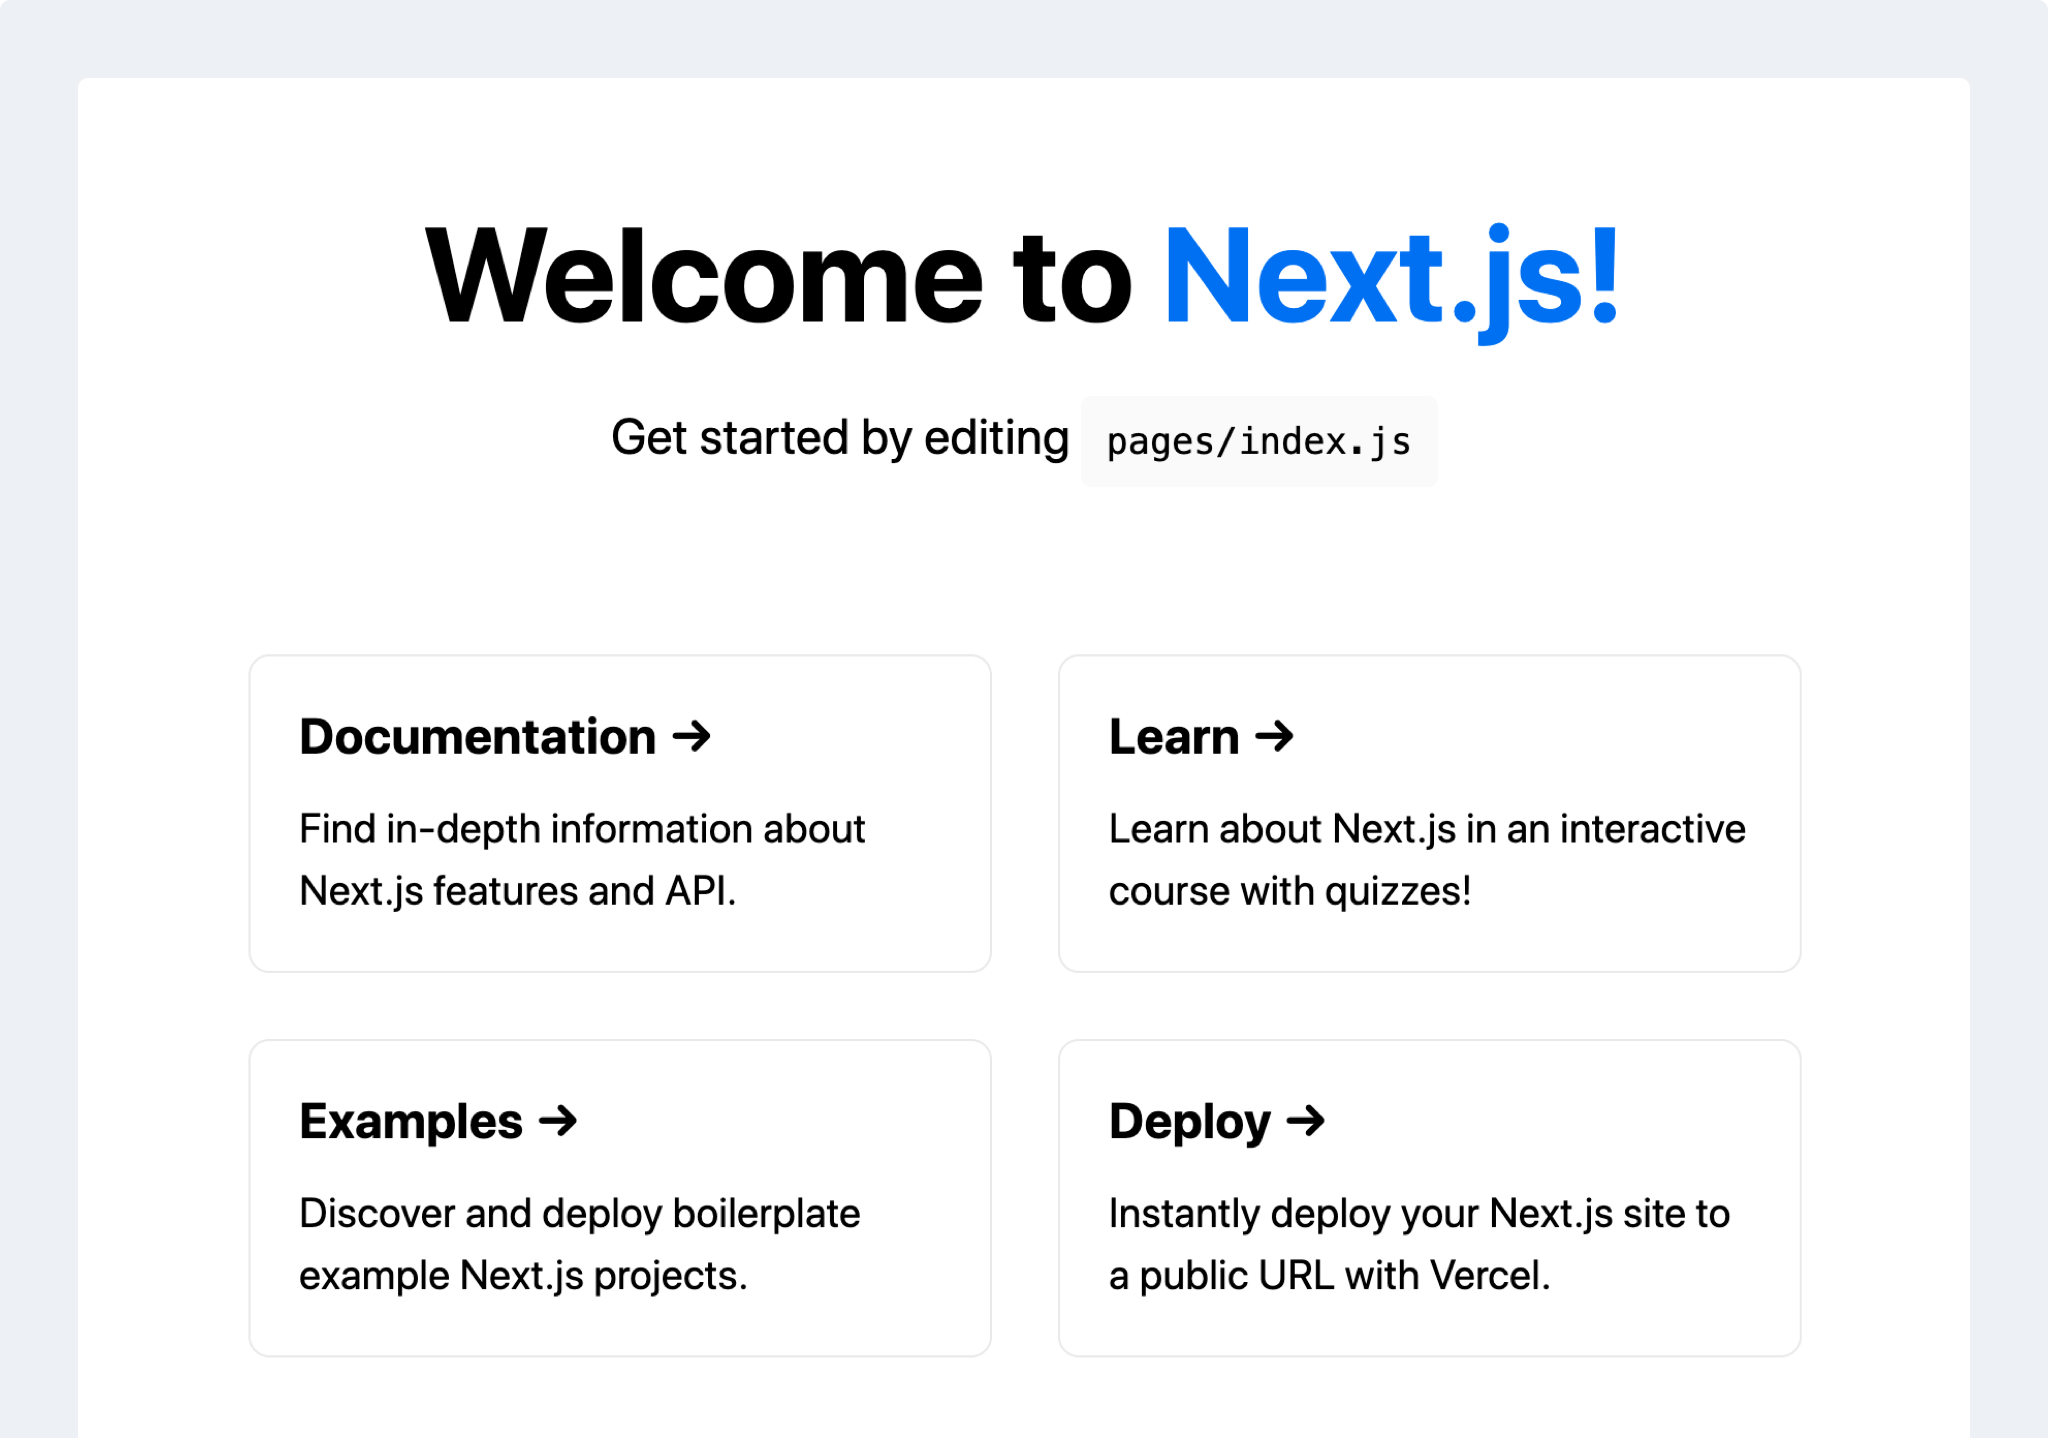
This will create a new Next.js application at my-sanity-store.
Once that’s finished installing, you can navigate into your project and start your development server:
That will load the Next.js app and we’ll be ready to go!
Step 1: Create a new Sanity Studio project
To get started with Sanity, unless you use one of their Starters which bootstraps an entire project complete with deployment, you need to use the terminal and yarn to create a new project.
While using a Starter would be easier to get to a “finished” state, we’re going to walk through how to do this manually so you can then add it to an existing project or customize it yourself like you might do in a real world project.
Tip: If this is your first time using Sanity, you’ll notice that there’s not a traditional “Sign Up” page like you typically would expect. Instead, once you create your project, Sanity will give you an opportunity to log in and connect your project to an account.
Inside of your terminal, first install the sanity-cli with:
Then, inside of the folder you’d like to create your new project, which should be separate from your Next.js project, run:
If this is your first time logging into Sanity in your terminal, you’ll now be prompted to log in to an account. If you don’t have an account, logging in will set up that account for you with Google, GitHub, or it will give you the opportunity to sign up with an email and password.
Once logged in, Sanity will then prompt you to answer a few questions.
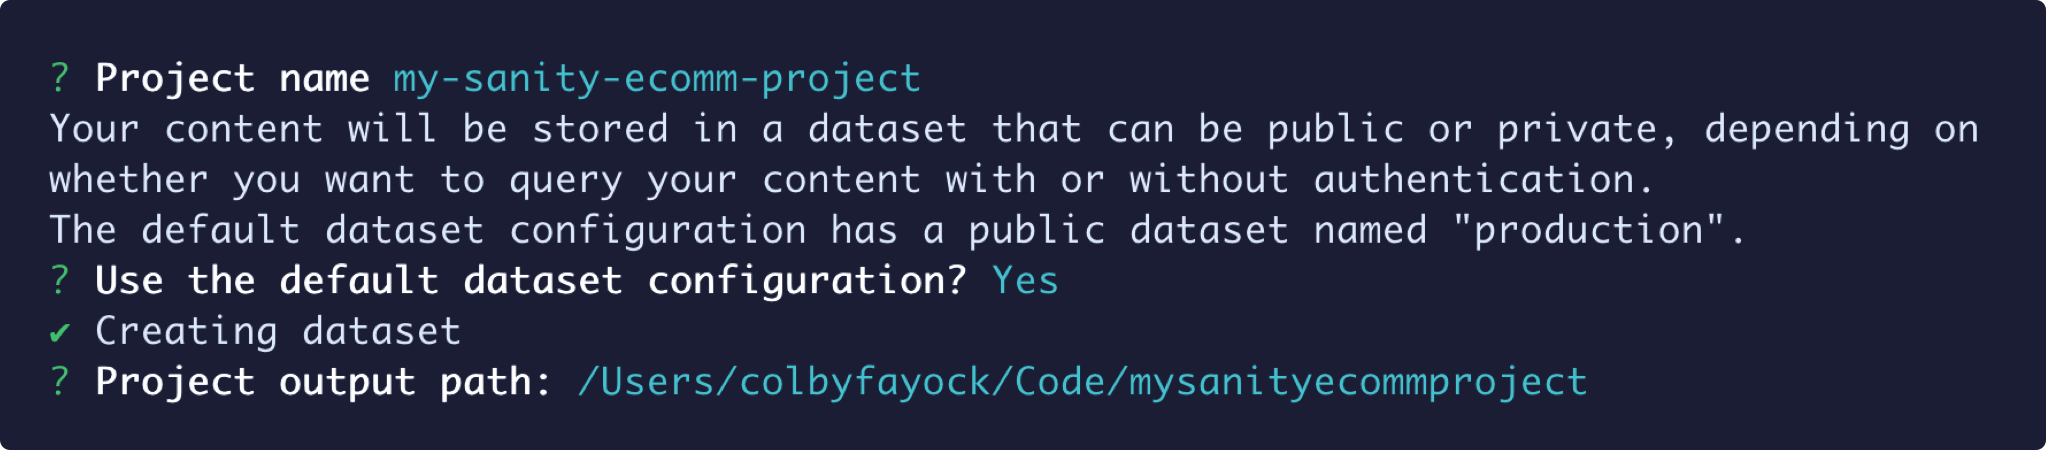
You can name the project anything you’d like. Sanity will use this name to set up the project for you.
For the dataset configuration, we can stick with the default for now, so you can answer "Yes."
Finally, you can customize your output directory or let it use the default. The default option will create the project in the folder you’re in based on your project name.
Once you answer those first few questions, it will ask you to select a project template. If you’re starting from scratch and want to create a custom CMS schema, you may want to use "Clean", but we’re going to build an ecommerce project, so let’s select the "E-commerce" option.

We can even upload sample data into our project to make it easier to test this out.

I’m going to select "Y" for Yes so we can easily jump into sourcing the content into our application, but feel free to do this manually if you’d like with your own product selection.
After that, Sanity will create the new project and install all of the dependencies.
What you end up with is a new web app that will serve as your CMS. You now have the flexibility to customize your schemas or UI inside of that code base, or just leave it as is.
To test this out, navigate into your new project:
And start up Sanity:
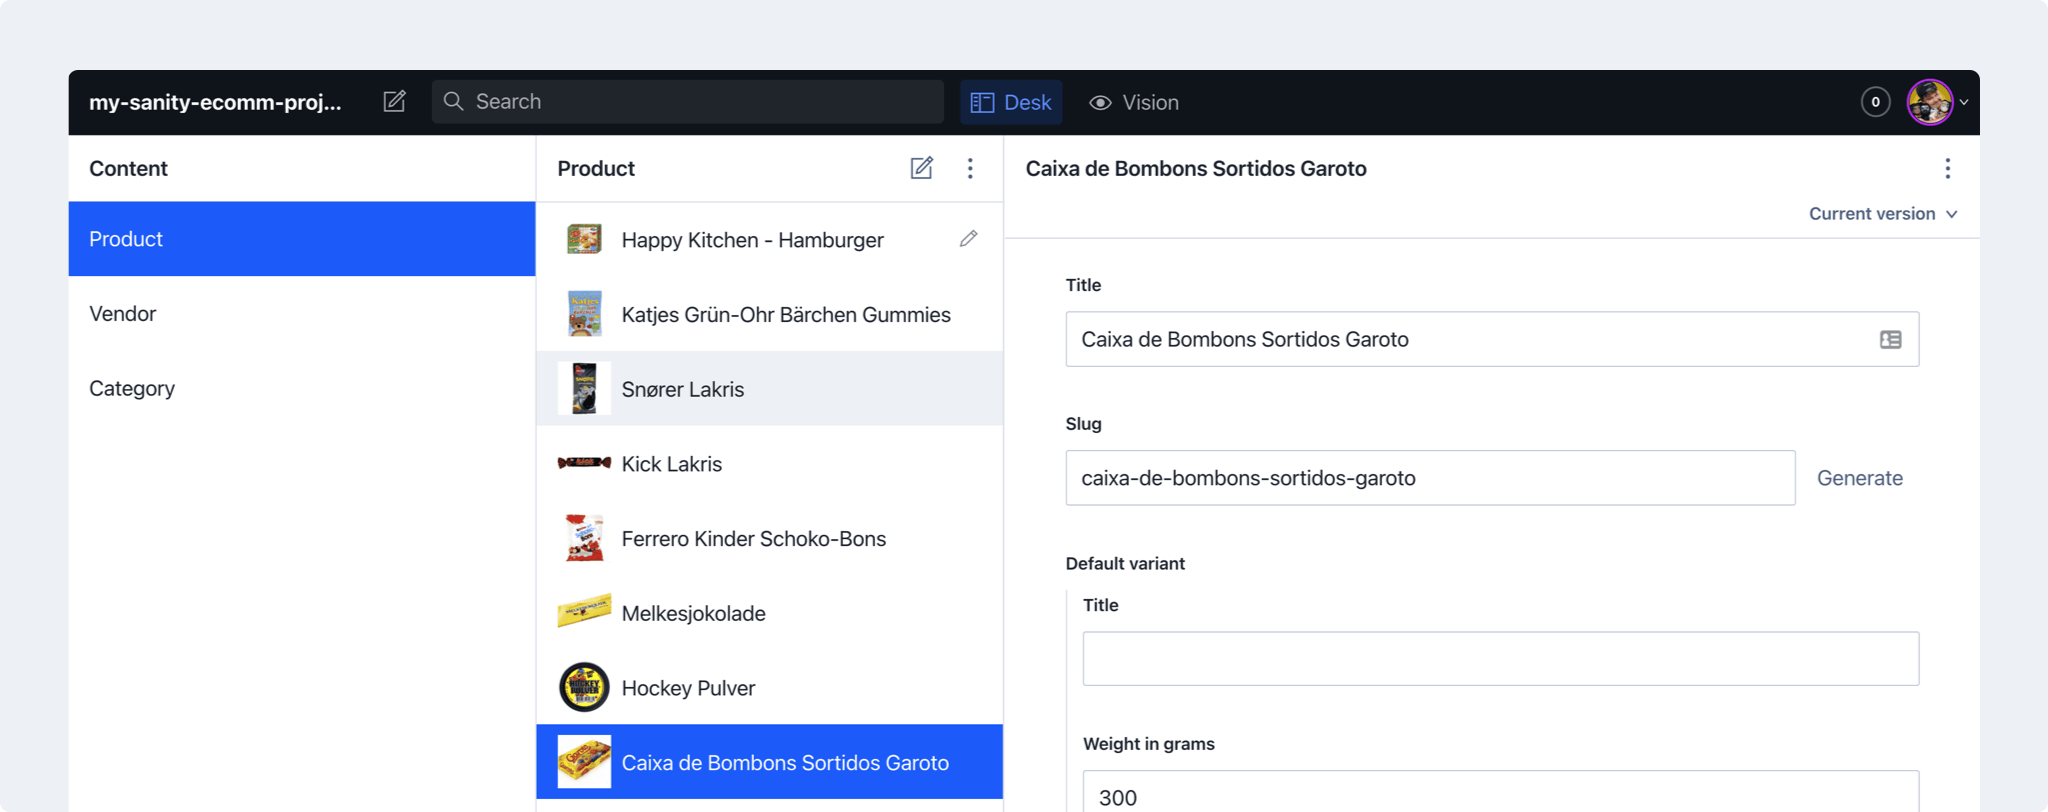
This will compile your CMS application and make it available at http://localhost:3333.
And if you open that up in your browser and log in with your Sanity account, you’ll find your new CMS!
Finally, in order to make our CMS available on the internet, we’ll need to deploy it.
Here you have the option of deploying it yourself or the recommended option, deploying it to Sanity itself.
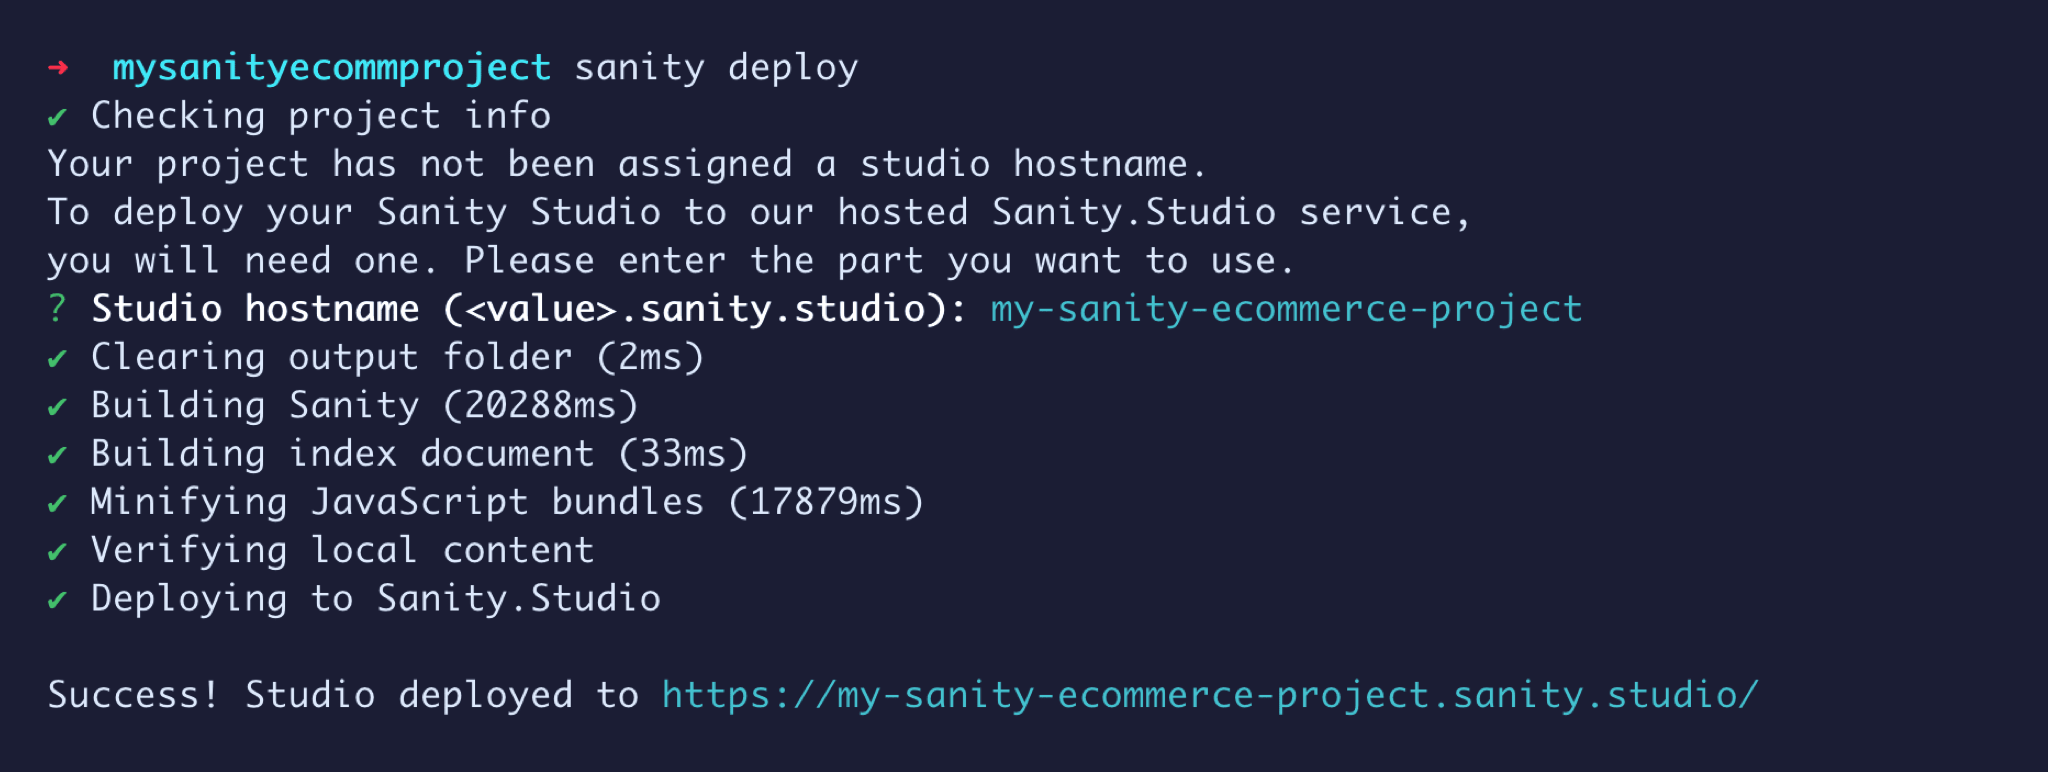
If you want to deploy it to Sanity, inside of your project directory run:
This will ask you what you’d like your hostname to be (it needs to be unique), then it will deploy your project to the Sanity cloud and make it available for you to open up, log in, and get started!
It’s recommended that you add this repository on GitHub or your favorite Git provider and use that as a basis for future modifications to your Sanity project.
See my Sanity Studio project on GitHub
Step 2: Install Sanity Client in a Next.js app
Now that we have our CMS, we want to install the Sanity Client into our Next.js app that will allow us to easily interface with our data straight from Sanity.
Back inside of your Next.js project, first let’s install Sanity Client:
Note: if you followed along with me earlier, you should be running that inside
my-sanity-store
With the Sanity Client installed, we now have direct access to the Sanity library that will allow us to set up requests.
When we set up our Client, we’re going to need to give Sanity a few pieces of information so it knows how to find our project:
- Sanity Project ID
- Project Dataset ID
- Whether or not you want to use their CDN
We need to pass this information any time we use the Sanity Client, so to make that easier, we’re going to create a reusable instance of the client so we can use it anywhere with the same configuration.
Inside of the project, create a new folder called lib, then create a new file inside called sanity.js. Inside that file, add the following:
Tip: if you want to have more flexibility with setting up your project between different environments, you could consider using environment variables for the Project ID and Dataset ID
Here’s what we’re doing:
- First, we import the Sanity Client from the library
- We then export our client instance as a constant that we can use anywhere in our application
- We pass in our project ID
- We pass in our dataset ID, which if you used the default settings in Step 1 will be
production - We set
useCdnto true, meaning, when we read our data from Sanity, we want to get it cached, which will make it super fast
Looking for your Project ID? You can either find it inside of your Sanity.io account by navigating to your project or inside of the
sanity.jsonfile from Step 1 underapi.projectId
And once we save our file, we’re ready to get out product data from Sanity in our next step!
Step 3: Add products to our Next.js homepage from a Sanity.io project
We created our CMS and we installed the Sanity Client to access the product data in the CMS, now let’s add that data to our project.
We’re going to start by listing all of our new products from inside of Sanity on our homepage.
Inside of pages/index.js, first import the client:
Then at the bottom of the file, we’re going to take advantage of the getStaticProps API from Next.js to request our CMS data and make it available as a prop to our homepage.
Add the following to the bottom of pages/index.js:
Here, we’re:
- Creating our new
getStaticPropsfunction - Using the Sanity client to request all items with a type of “product”
- Then adding our products as a prop
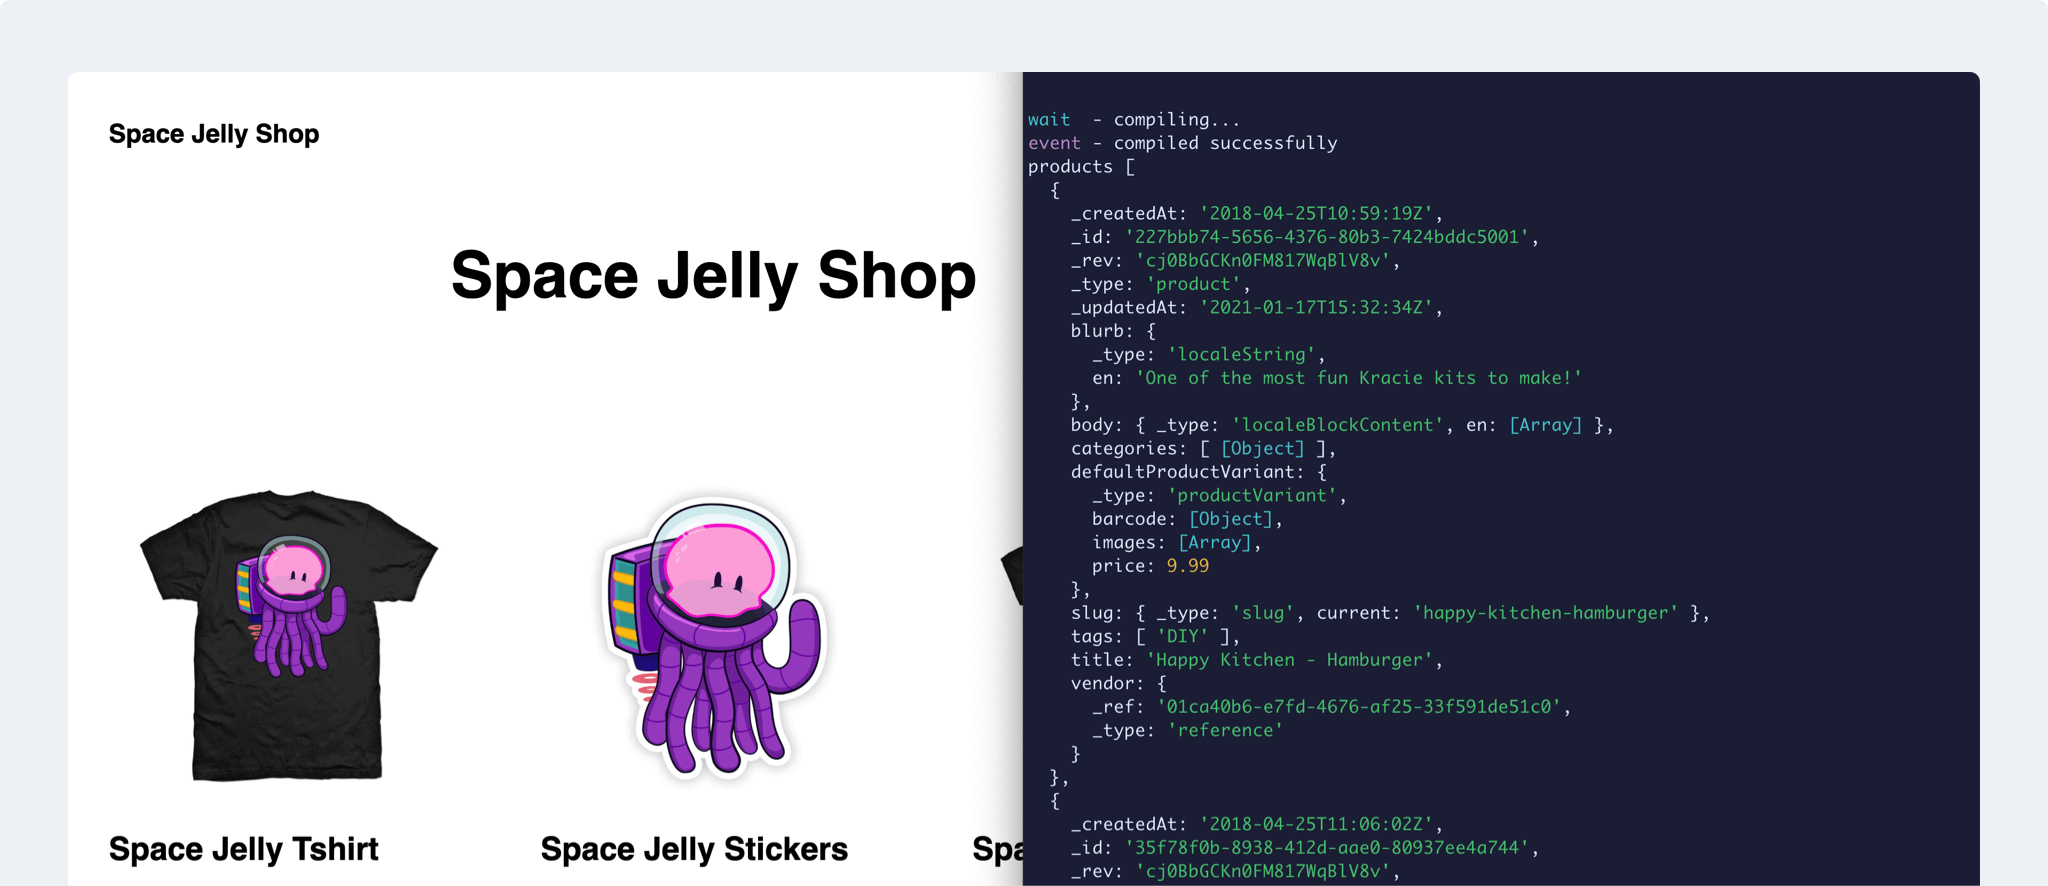
To test this out, we can use console.log to view our product data inside of that function.
Before the return statement, add:
If you reload the page, you’ll notice that you don’t see anything inside of the web console, but if you open up your terminal, you should now see all of your product data listed out!
Tip: the reason we see this inside of our terminal and not the browser is because
getStaticPropsruns at compile time in node. The browser never even knows it happens!
With our data available as a prop, we can now destructure it from our Home component argument:
Tip: we can also test that this works by adding another
console.logstatement at the top of the Home component, this time it will show in the browser!
For showing our products, we can take advantage of the grid and cards that come with Next.js by default.
Inside of the grid <div>, let’s replace all of the cards with:
In the above, we’re:
- Using the map function to create a card component for each of our products array
- We’re using the product ID as the key, which React uses internally to render the components properly
- Our
hrefattribute is set as#for now, as we don’t yet have a link - We use the
product.titlefor our header - We use the
product.blurb.en, which grabs the English version of our product description
Tip: Sanity supports localization, which is why we are using
enfor our product blurb. We’re not going to cover localization in this tutorial, but you can find more information at Sanity.io.
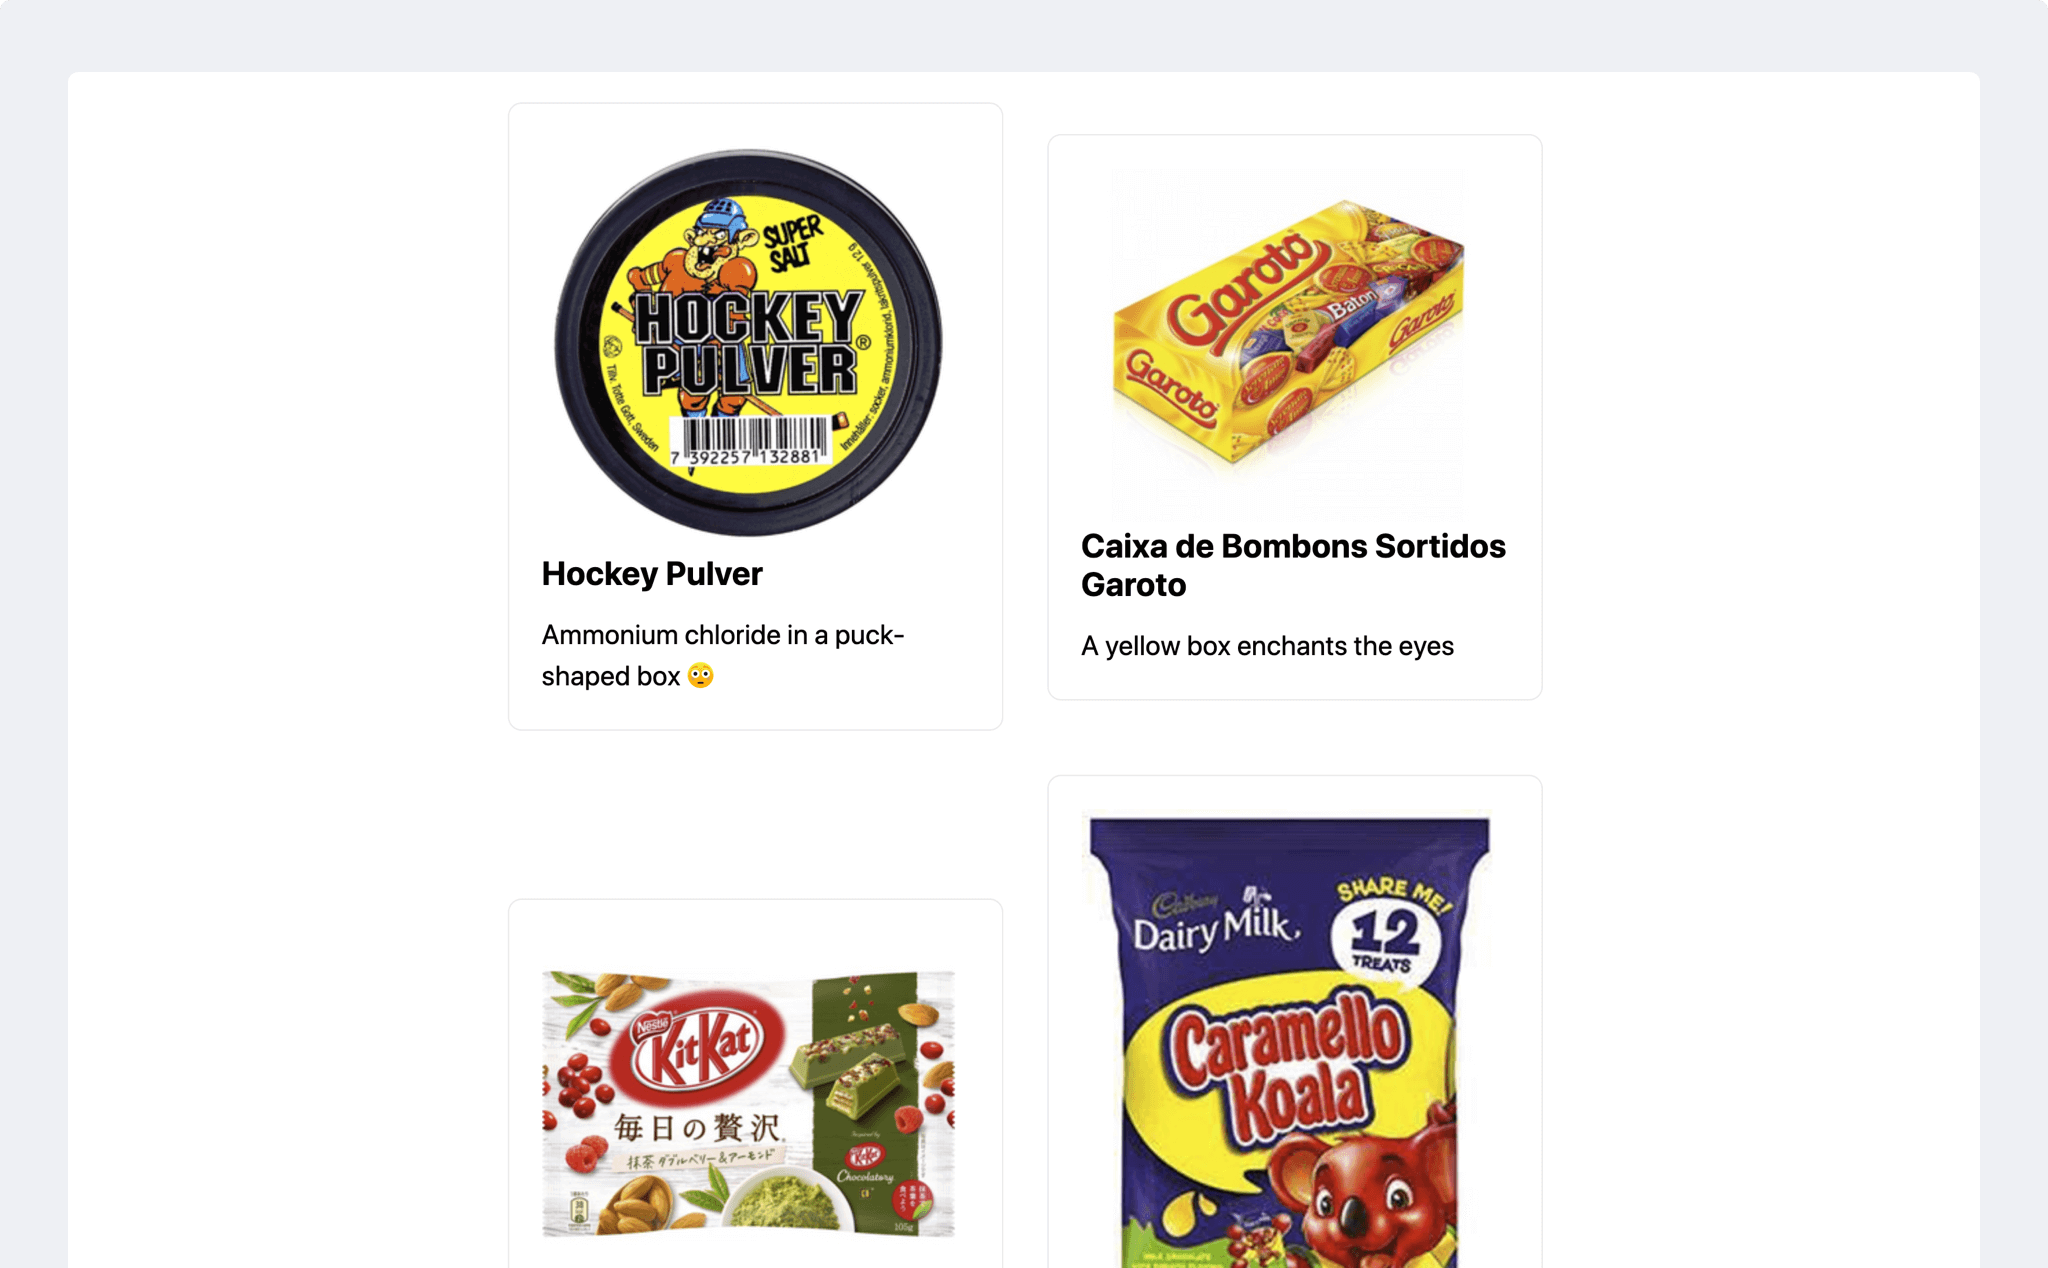
Once we save and the page reloads, we can now see all of our products are listed out on the page!
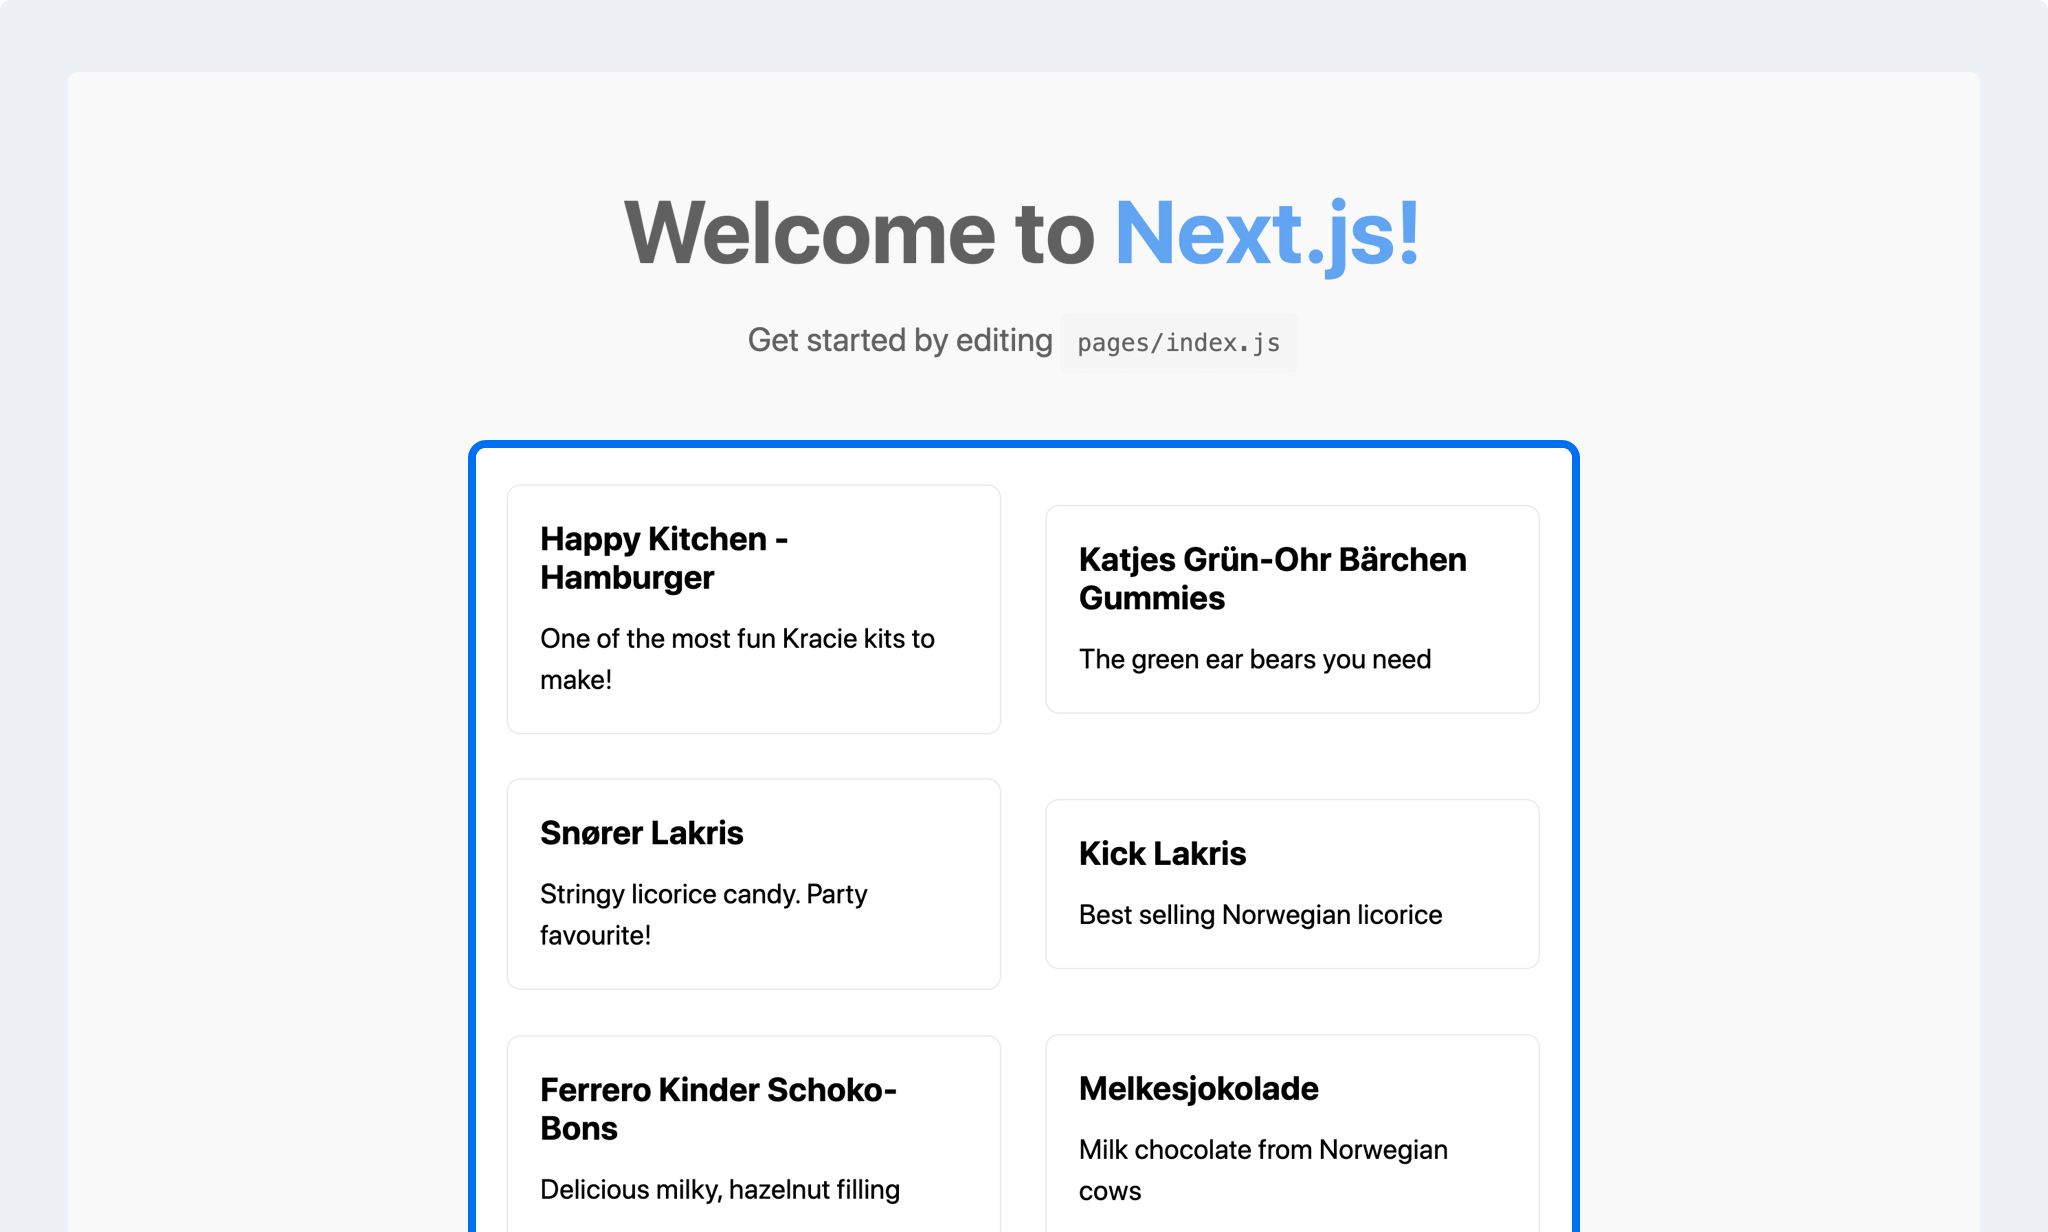
In the next section, we’ll learn how to use the images available from Sanity to show what our products look like in our app.
Step 4: Adding images from the Sanity CDN to a Next.js project
If you look through the data that is available to use inside of the products from Sanity, you’ll notice that there’s an array of images inside of the defaultProductVariant object.
The issue, is by default, Sanity doesn’t provide a constructed URL for us to use right inside of our application.
Sanity has another package @sanity/image-url that we can use to take our image object and construct a URL.
Back inside of our Next.js app, let’s install a new package:
Once it’s finished installing, we can import the package at the top of our pages/index.js file:
We also want to create a new instance of our image builder that we’ll use in the app.
After all of the imports at the top of the file, add the following:
This creates a new builder instance passing in our Sanity Client.
Make sure this is below all of the imports and above the
Homecomponent definition or else the page will break.
Next, we can use our image builder and product data to find our default image and add it to the page.
Let’s update the map of products to the following:
In the above, we added:
- Deconstructing
defaultProductVariantfrom each product - Deconstructing images from the default product variant
- Passing in the first image in our array to our image builder
If we reload the page, we can now see that we have images! The only issue is they’re a little big for our page.
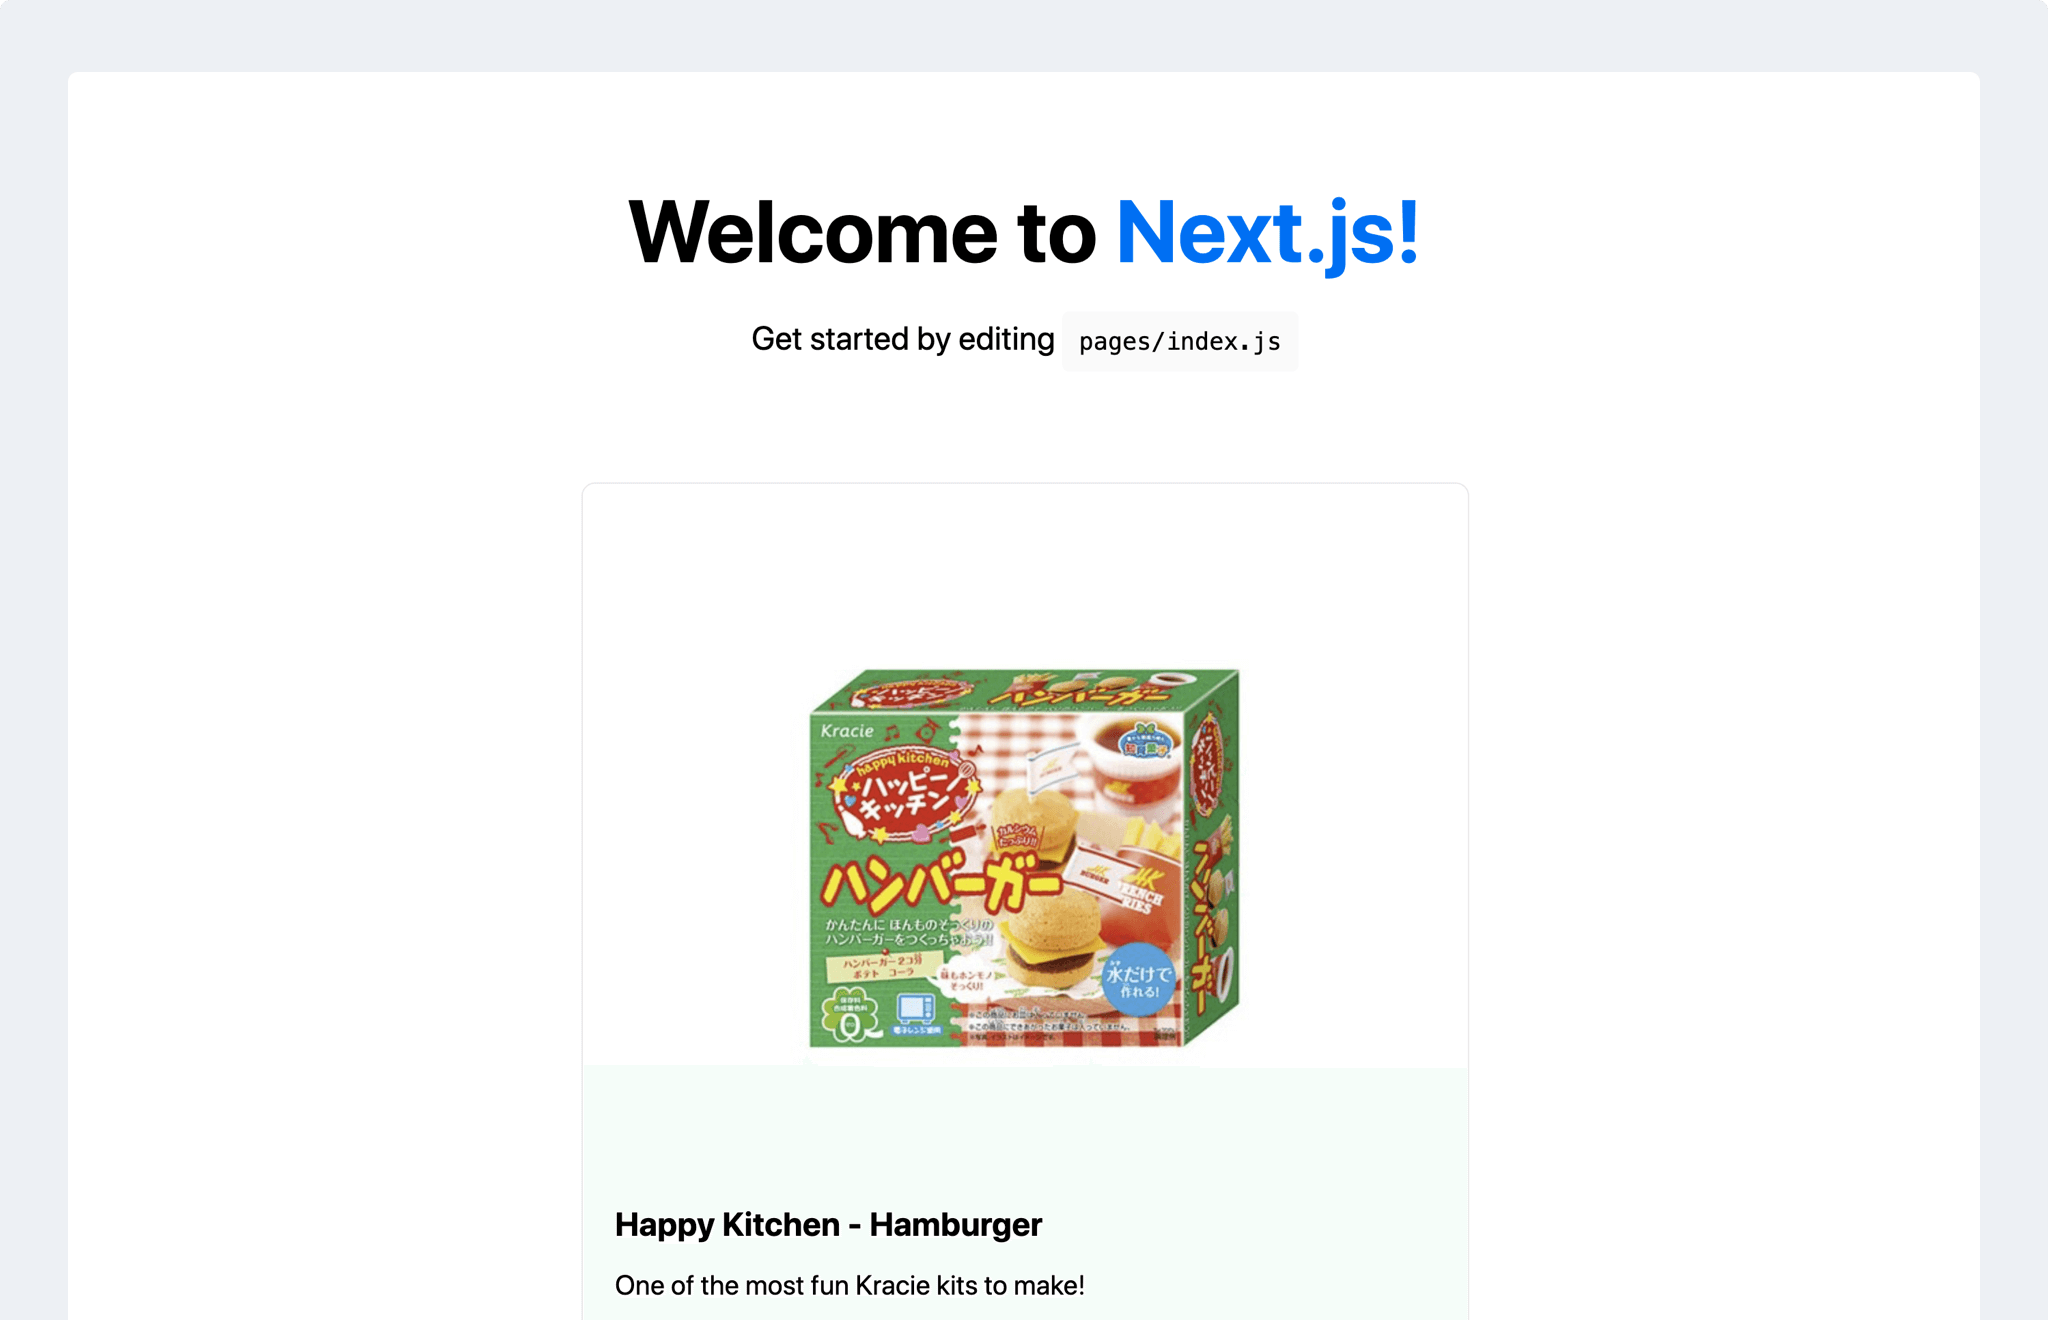
To start to fix this, we can add a line of CSS to prevent images from expanding outside of their container’s size.
Inside of styles/global.css, add the following to the bottom of the file:
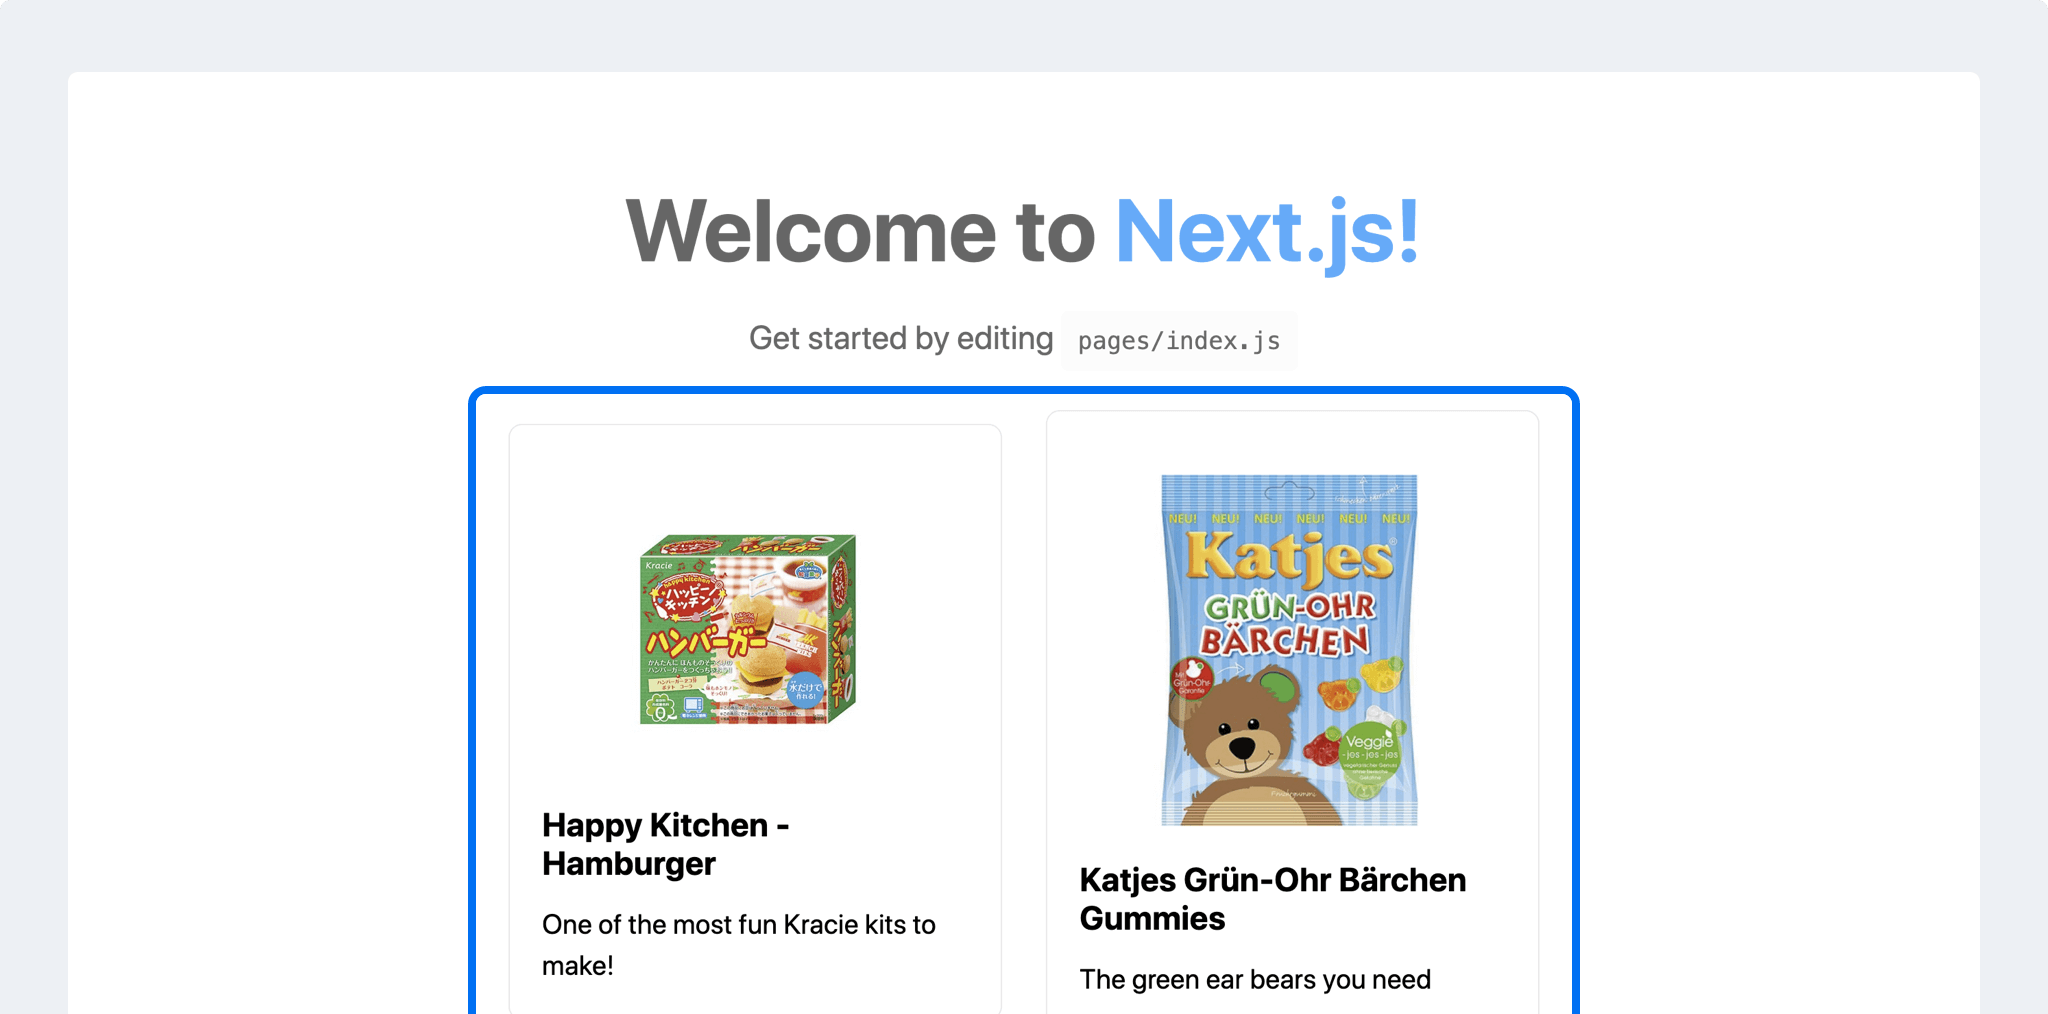
That alone fixes our images, but we’re still loading images that are way too big for our page. That means our visitors are going to be downloading bigger images than they need to, which will take longer and use more bandwidth.
Because we’re using Sanity’s CDN and URL builder, we can easily reduce the size of the source image, as we don’t need images that big inside of our project.
Inside of pages/index.js, update the image to the following:
And back inside of our app, our images should still load and work the same, but they’ll be 300px by 300px which is smaller than the 1000px by 1000px images we were downloading before!
Tip: Sanity’s Image Builder has a variety of methods that can change how the image is represented, including blurring the image or changing the format.
What can you do next?
We only scratched the surface for creating an online store. Our goal here was to add the capability to manage our product data from Sanity, a content management solution, instead of static data inside of our application.
Here are a few other things you can do to continue on with this project.
Customize the Sanity product schema
When creating our Sanity Studio project, we used the default ecommerce data that Sanity provided us. But not all applications have the same data requirements.
Whether you want to add a new field to store a price ID from an ecommerce platform like Stripe or store an attribute to change how the product looks on the page, you can customize your product schema right inside of your Sanity Studio project.
Deploy the Next.js project
As soon as the store is ready to go live, you can deploy your Next.js project to your favorite hosting provider like Vercel or Netlify.
Because we don’t use any server-side methods in this project, we can export the project to static files and host them anywhere we want!
Trigger a deploy when content is updated with a deploy hook
Once the project is deployed, we’ll want to deploy the updated site any time content is changed in our Sanity Studio CMS.
To do that, we can set up webhooks so that Sanity can notify our hosting provider when a change occurs, telling it to rebuild and deploy the site.
Learn how to build an online store and sell products from scratch with Stripe Checkout
To learn more how to get up and running with a Next.js app using Stripe Checkout to sell your products online, check out my course on egghead.io: